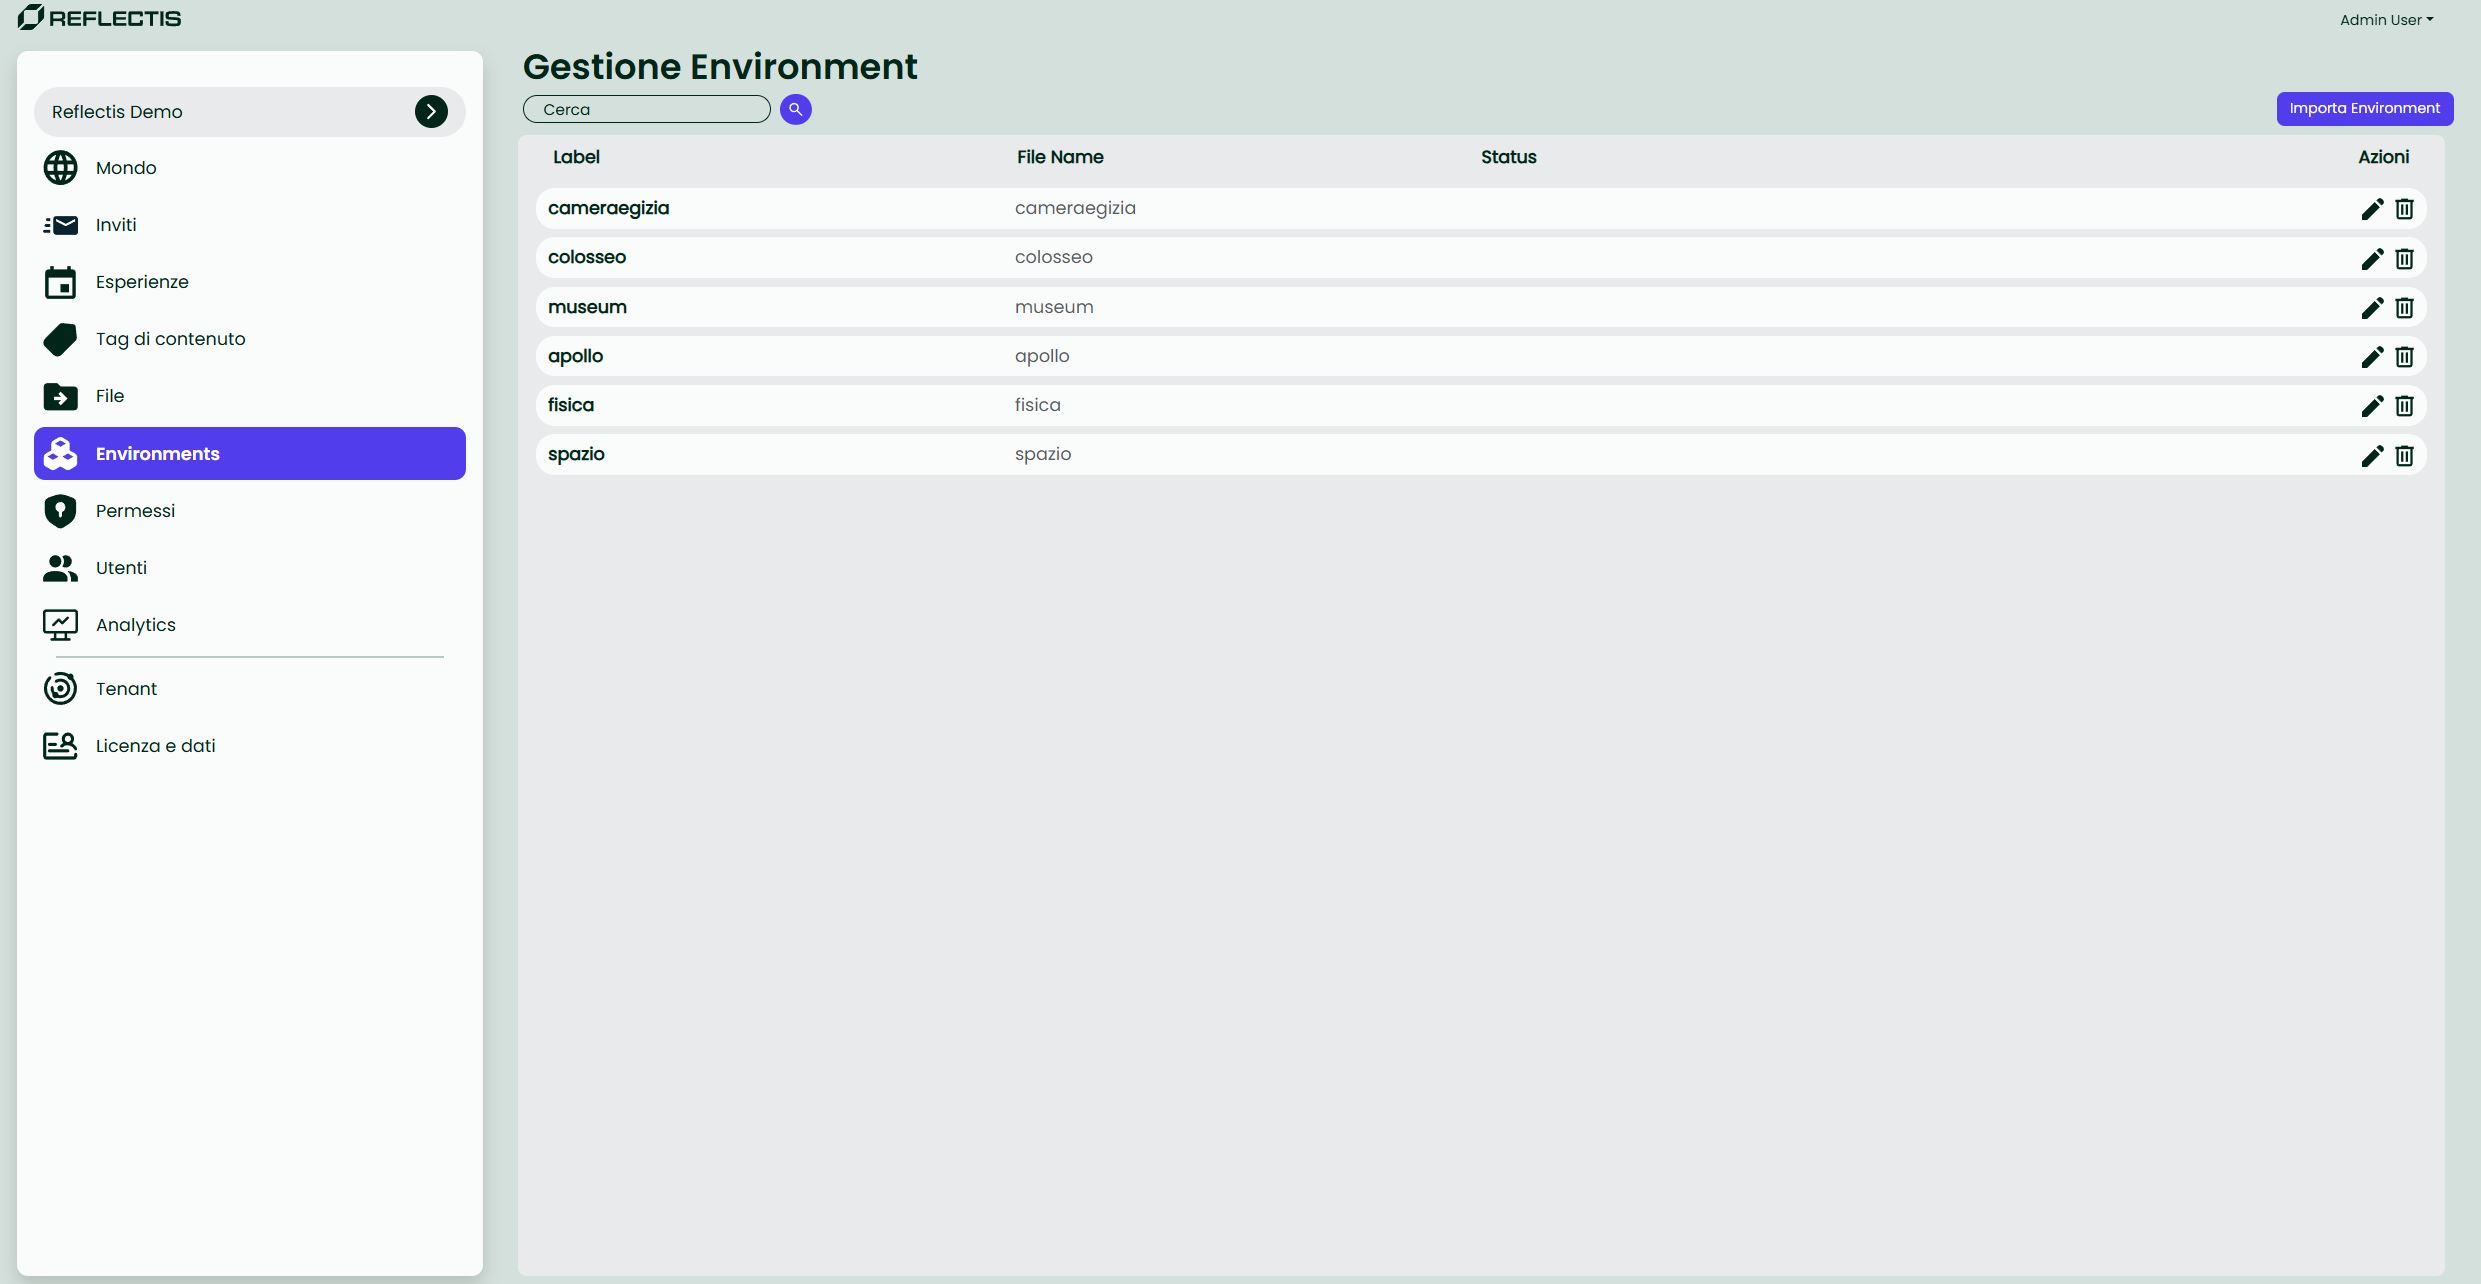
Environments
The “Environments” section lists every 3D scene that creators can turn into Core Experiences.
Flat list — environments are no longer grouped by their original catalog ZIP; each scene appears as a single, independent entry.
Taggable — you can now attach one or more Content Tags to an environment to improve search, filtering and recommendations.
Incomplete alert — if an environment has no thumbnail it shows a red Incompleto badge. Adding a cover image is strongly recommended because thumbnails are used throughout the Experience-creation wizard.
List controls
| UI element | Purpose |
|---|---|
| Search bar | Filter environments by name or tag. |
| Importa Environment | Import a new environment from storage. |
| Edit | Modify name, description, platforms, tags or thumbnail. |
| Delete | Permanently remove the environment. |
| Incompleto badge | Highlights entries without a thumbnail. |
Importing an environment
- Click Importa Environment (top right).
- In the side panel, choose a ZIP that was previously uploaded via Azure Storage Explorer.
- Click Importa. The scene appears in the list immediately.
Note Upload credentials expire with the Reflectis licence. Make sure your files are on the server before you need them.
Editing an environment
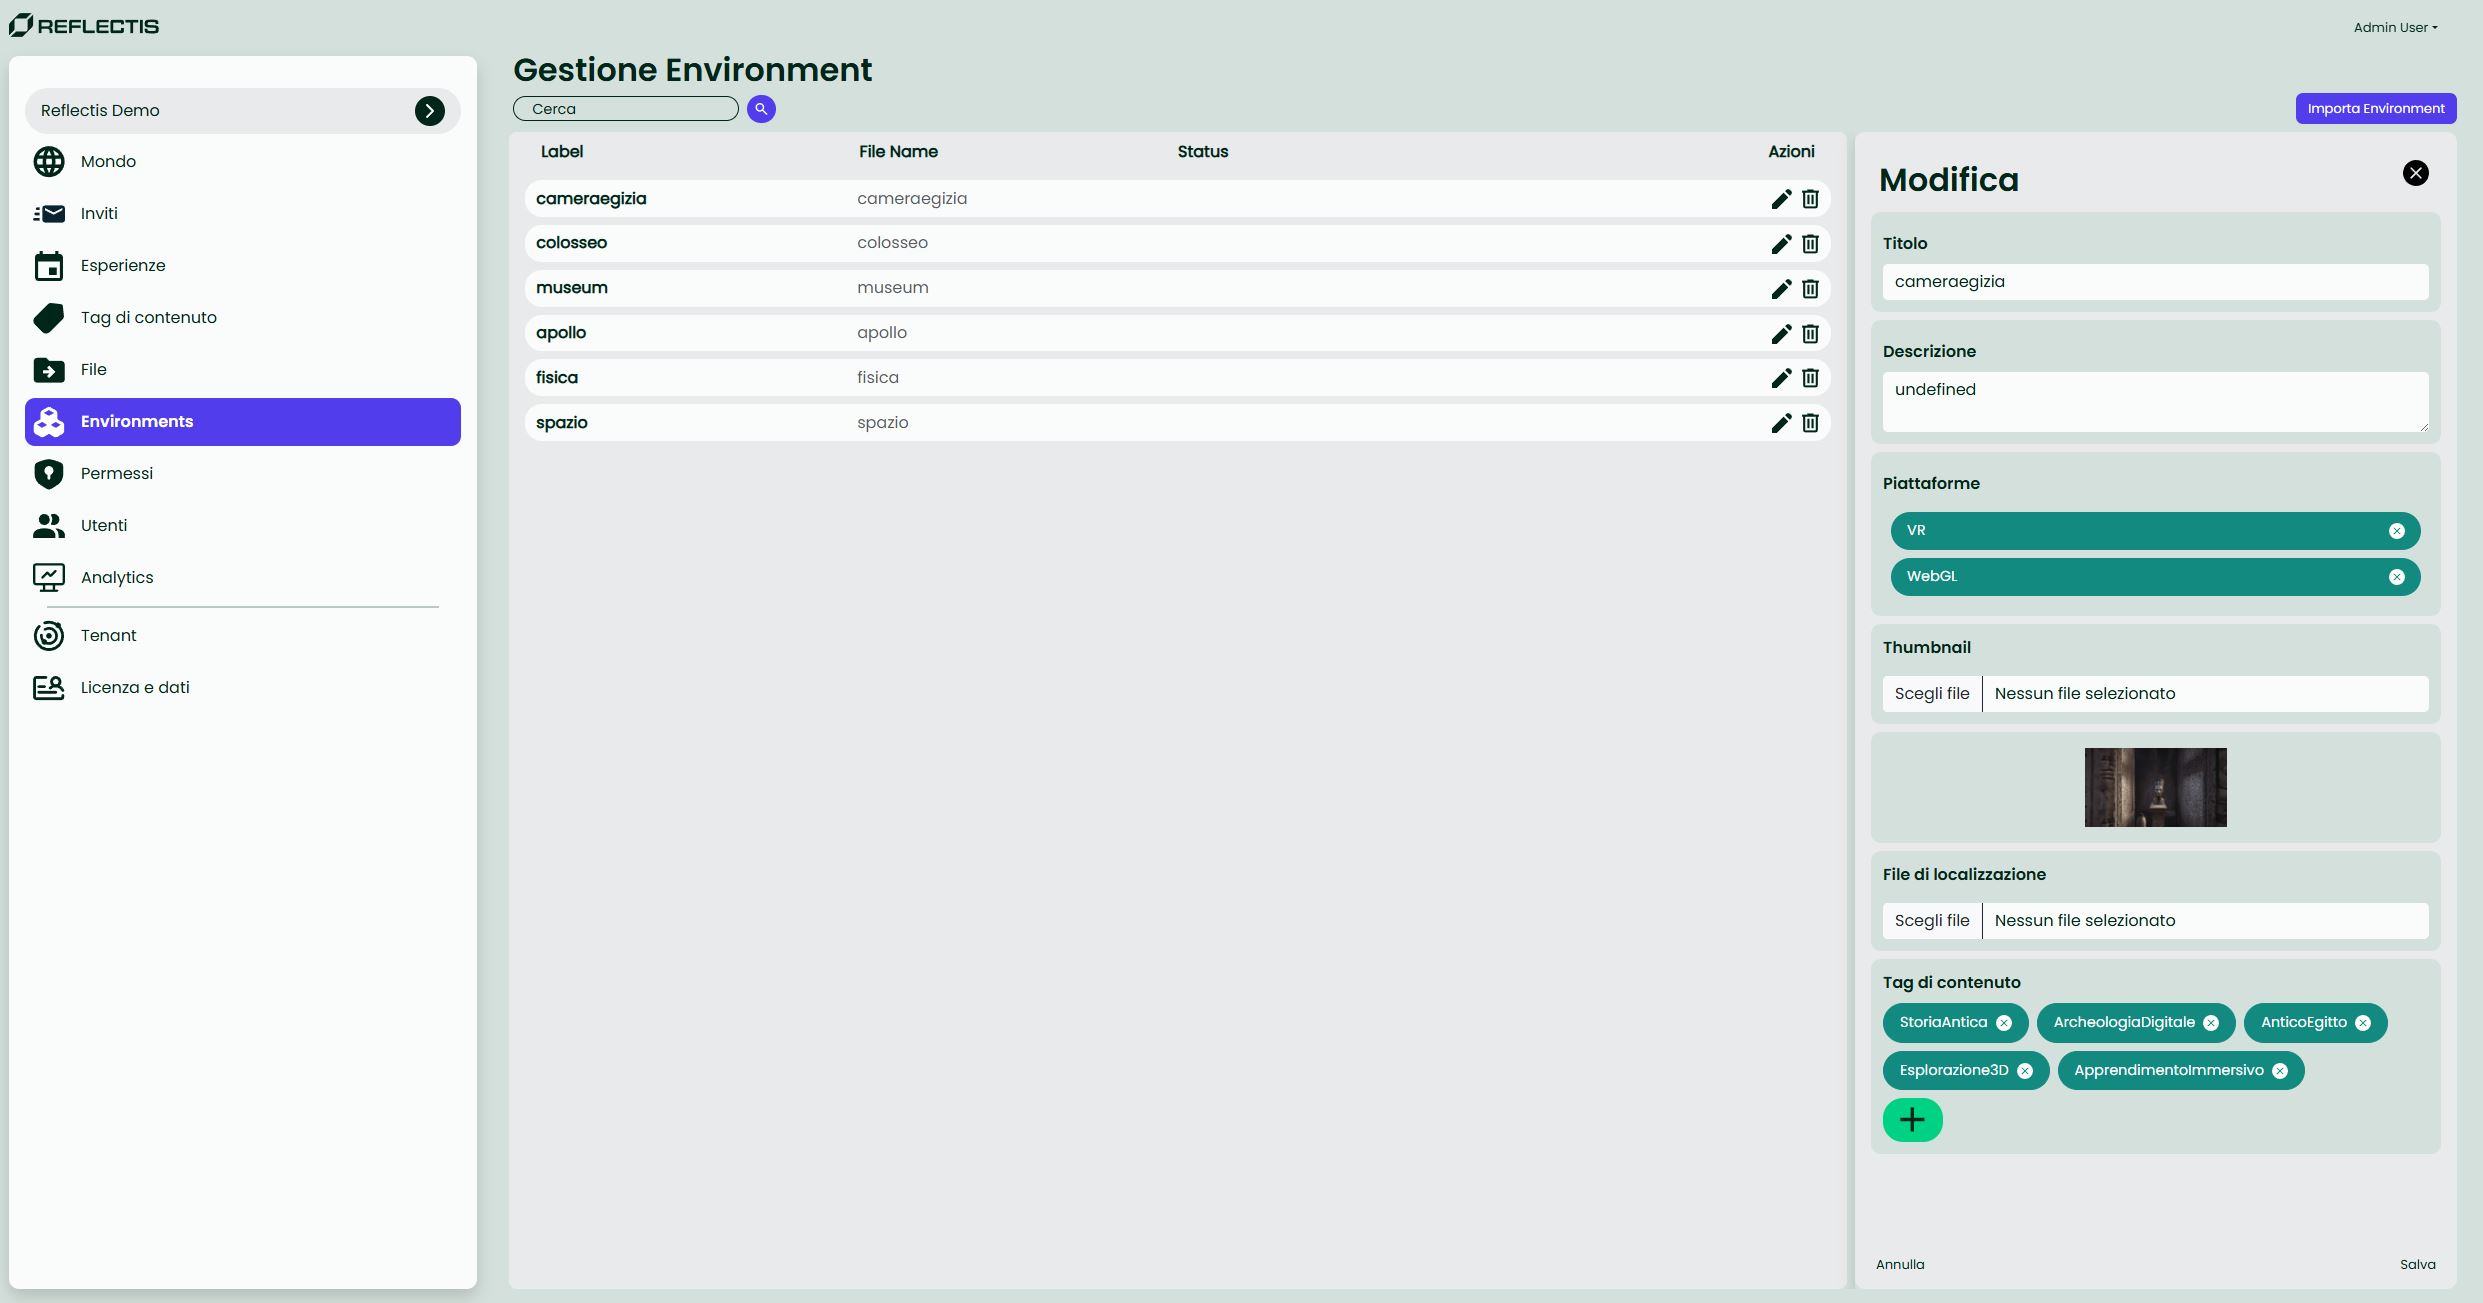
| Field | Description |
|---|---|
| Name | Display name shown in all selection menus. |
| Description | Optional, up to 250 characters. |
| Platforms | Flag as VR, WebGL or Both. |
| Thumbnail | 16:9 PNG/JPG. Mandatory for a “Complete” status. |
| Tags | Attach Content Tags for better discovery. |
| CSV for Translations | Optional localisation file. |
Click Salva to apply changes or Annulla to discard.