Environments
In the Environments section, users can manage all supplementary 3D environments available within the application. Each environment can feature unique visual designs and interactions customized to align with user preferences and specific application requirements.
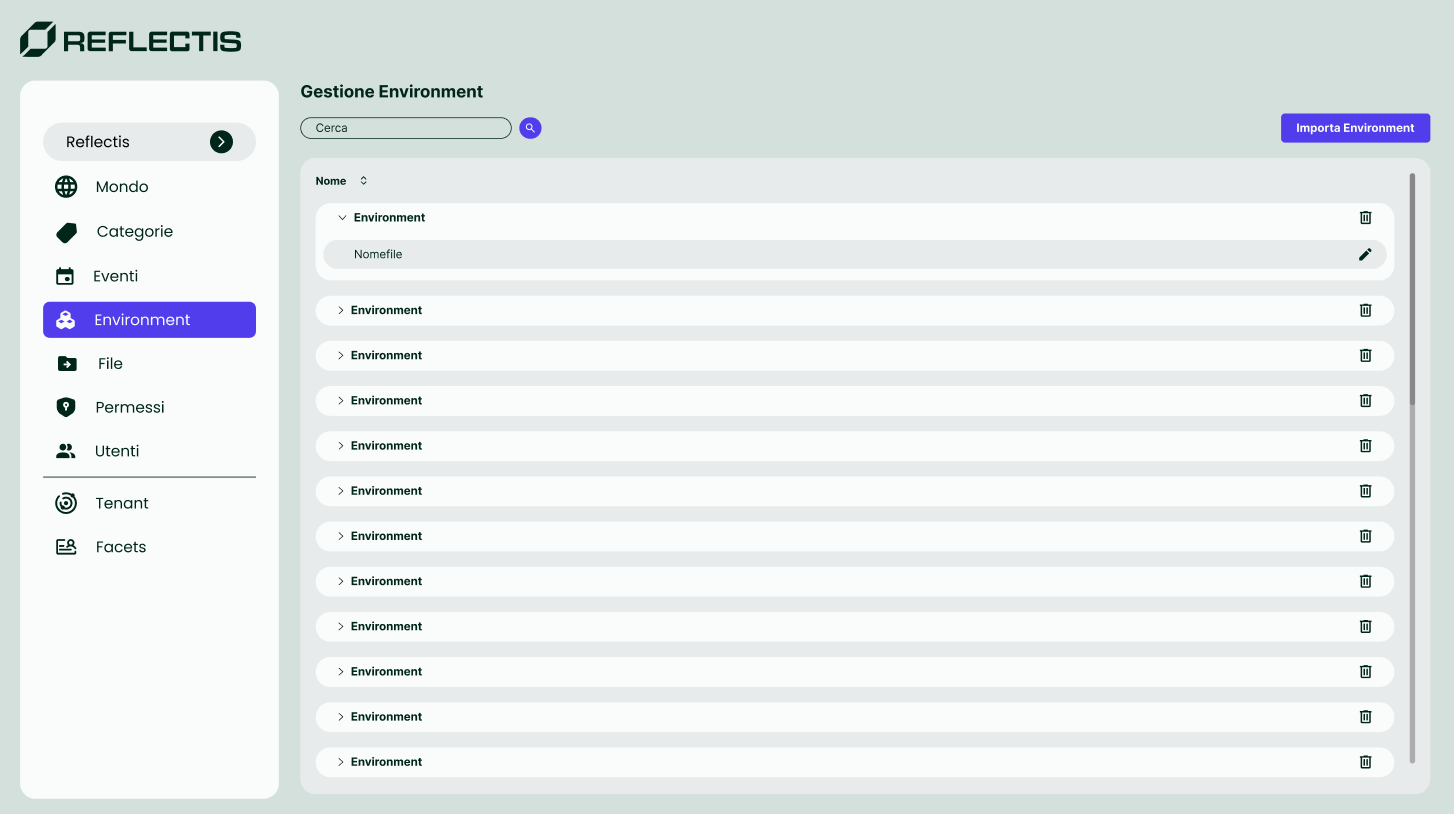
Any new environment added here becomes accessible for use when creating a new event, making it available within the application for future events.
Importing an Environment
To import an environment:
- Click the Importa Environment button located at the top right.
- A side panel will open, with a dropdown, showing the environments that have already been uploaded to the server via Azure Storage Explorer.
- Select the desired environment from the dropdown to make it available within the application.
To upload new environments to the server, use Azure Storage Explorer. Credentials for accessing the storage were shared via email and are set to expire at the end of the Reflectis license lifetime. Ensure your environment files are uploaded here before they can be imported into the application.
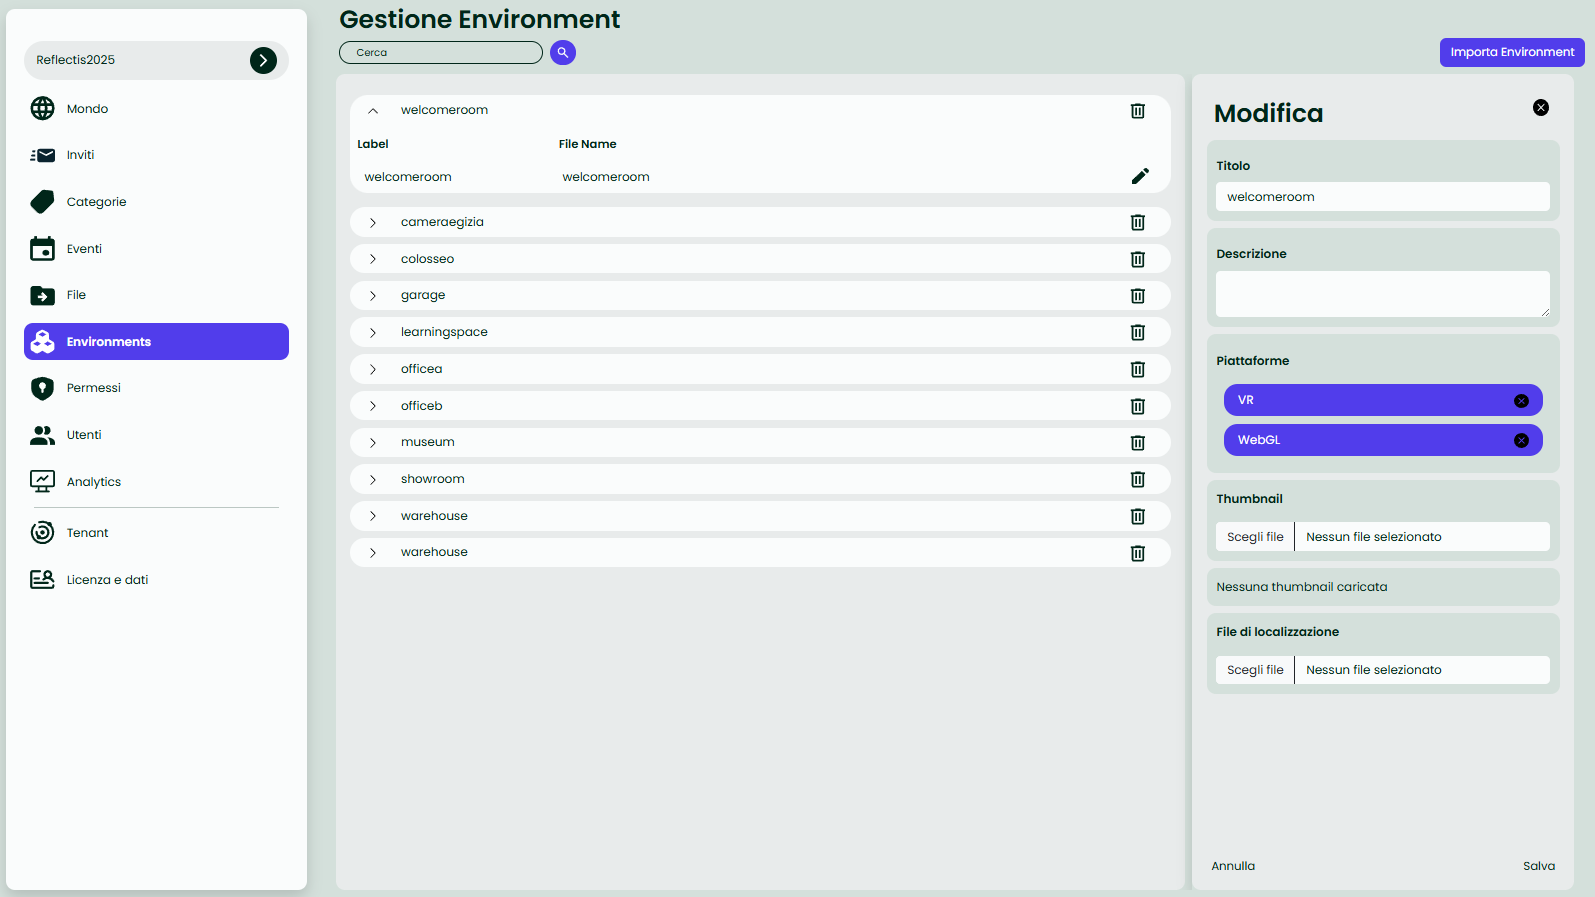
Editing an Environment
To edit an existing environment:
-
Click the edit icon next to the environment you wish to modify.
-
A side panel will open, with fields to update:
- Name: Modify the environment’s name.
- Description: Optionally, add or edit a description of up to 250 characters to provide context or details about the environment.
- Platforms: Option to tag an Environment as VR-only, WebGL-only, or compatible with both. In VR and WebGL clients, the environments are now available only for the tagged platform.
- Thumbnail: Upload a thumbnail for the environment.
- CSV for Translations: You can associate a CSV file with the environment to manage multilingual label translations. This file will be used by the Unity build to display localized text for various elements within the environment. Each row in the CSV represents a label, and the columns contain the corresponding translations in the supported languages. This allows the environment’s interface to dynamically adapt to the user’s language, providing a more personalized and accessible experience.
-
Once the details are updated, click Salva to save the changes, or Annulla to cancel.
Deleting an Environment
To delete an environment, the entire ZIP catalog containing the environment must be deleted. This ZIP file may contain more than one environment, so deleting it will remove all environments stored within that catalog. Use caution when deleting to avoid unintentional data loss.
Creating and customizing a new environment requires the Reflectis SDK Creator Kit provided with the application. For detailed instructions on downloading, installing, and using the SDK, please refer to the Reflectis Creator Kit documentation.