Addressable setup
If the project setup has been successful, the new project will already have the addressables package system installed.
Now we need to configure addressables, which will be used for uploading environments to the online platform.
Groups configuration
What you need to do is manage the asset's deployment remotely by flagging them as addressables and organizing inside the "Addressables Groups" window.
To open the Addressables Groups window go to: Window → Asset Management → Addressables → Groups.
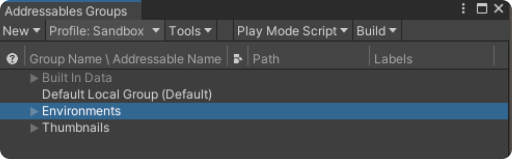
The Addressables Groups window will show 2 options: Built in data (in gray) and Default Local Group. By clicking "New", it will be possible to create new addressables groups.
It's necessary to create these new groups:
- Environments - It will contain the addressables of the scenes that need to be shared.
- Thumbnails - It will contain the addressables of the thumbnails for each scene, that will be used as a new world's environment.
Click on the "New" button on the top left corner of the window, select “Packed assets” and a new manageable addressable group will be created and ready to be renamed.
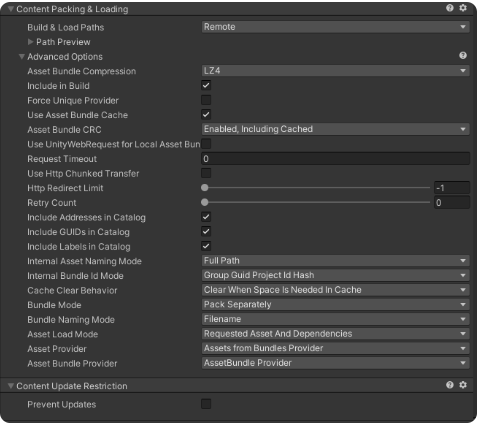
It's necessary to change the options of the addressables groups Default Local Group, Environment and Thumbnails' inspector as follows:
Finally, select the “AddressableAssetData” folder in the "Assets" folder of the project and select the “AddressableAssetSettings” scriptable object.
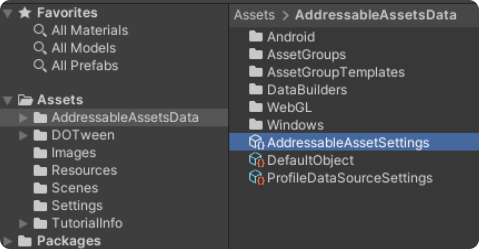
Set the inspector of "AddressableAssetSettings" as follows:

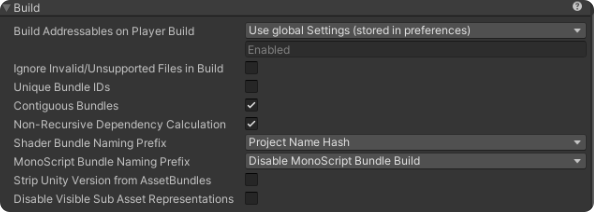
- Catalog → Player Version Override: Here is where the catalog’s name is set. It's mandatory that this name is different from any other catalog uploaded before or in the future.
Don't use numbers or special characters in "Player Version Override" parameter.
Profiles configuration
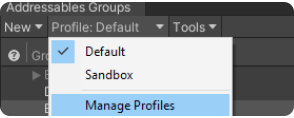
After the groups have been prepared, it's necessary to create the correct Profiles. These contain the links where the objects marked as addressables are sent and built. To create a new profile, click on Profile: Default → Manage Profiles on the "Addressable Groups" panel.
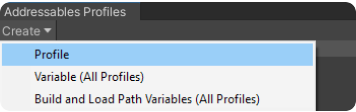
From the Addressables profiles panel click on: Create → Profile and rename it "Sandbox". At the end there must be two profiles: Default and Sandbox.
Change the links in the "Remote" section. The links needed on “Remote.BuildPath” and “Remote.LoadPath” spaces will be given by the Development Team.
Default: This profile is usually used for the commits in the official releases (Production).
Sandbox: This profile is used for the testing releases (Sandbox)
Set the Sandbox and Default profiles as shown below:
-
Sandbox profile
Remote.Buildpath: ServerData/[BuildTarget]/Sandbox
Remote.Loadpath: https://reflectisCOMPANYNAME-api-sandbox.anothereality.io/environments/download/[BuildTarget]/Sandbox
-
Default profile
Remote.Buildpath: ServerData/[BuildTarget]/Production
Remote.Loadpath: https://spacsglobal.blob.core.windows.net/reflectis-COMPANYNAME-public/[BuildTarget]/Production
"COMPANYNAME" in the link must be changed to your company/team name.
To change between profiles, right click on one and select “Set Active”.
Convert scenes/images into addressables
The basic addressables needed to upload an environment are as follows:
-
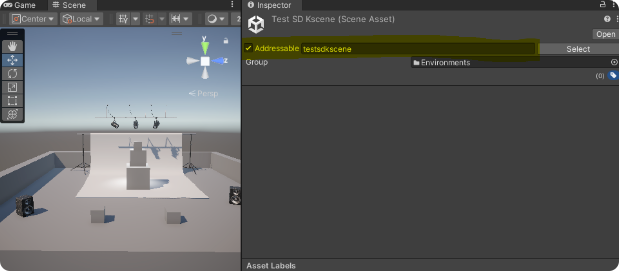
Scene addressable
Select the scene file in the Asset folder → Scenes. Check “Addressable” on the inspector and set a name for it. The name will be the same displayed on the environment selection list.
WarningDon't use spaces or special characters in "Addressables" parameter.
-
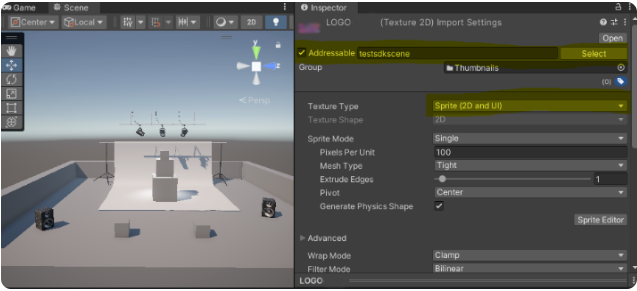
Thumbnails addressable
Select an image file from the Asset folder → Images (or Thumbnail). This image will be the thumbnail image for the uploaded environment.
Set the Texture type to Sprite (2D and UI) and apply it, then check the Addressable box.
Finally open the "Addressable Groups" window and organize the files in the following way:
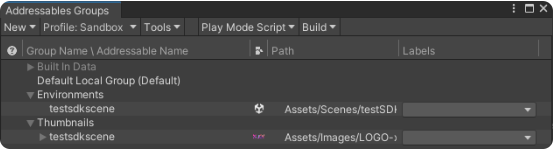
The scene addressable must be dragged into the "Environments group" and renamed if necessary.
The image addressable must be dragged into the "Thumbnails group" and named the same as the scene addressable.
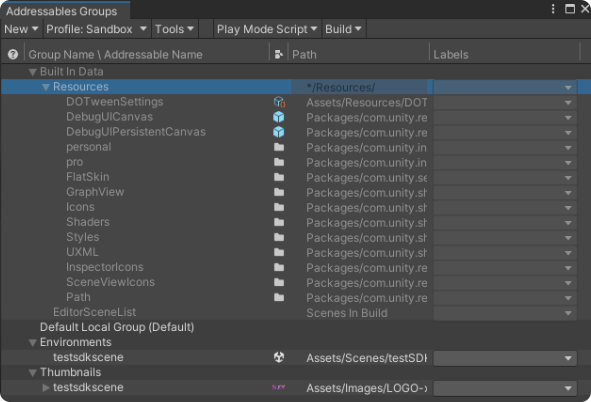
Specific elements needed to build the online environment are collected inside Built in Data. Among these files is noteworthy to mention the "Shaders" folder, essential for the environment to work.
The configuration of addressables is complete now, and you can proceed to scene setup!