Addressable setup
If the project setup has been successful, the new project will already have the addressables package system installed.
Now we need to configure addressables, which will be used for uploading environments scenes to the online platform.
in the following paragraph we'll explain how the Addrssable Configuration window works and how to set the addressables correctly.
Addressables Configuration Window
You can easily create addressable groups by going to "Reflectis" on the top bar and then click on "Configure and build Addressables".

The panel that appears has all the different important configurations already set-up.
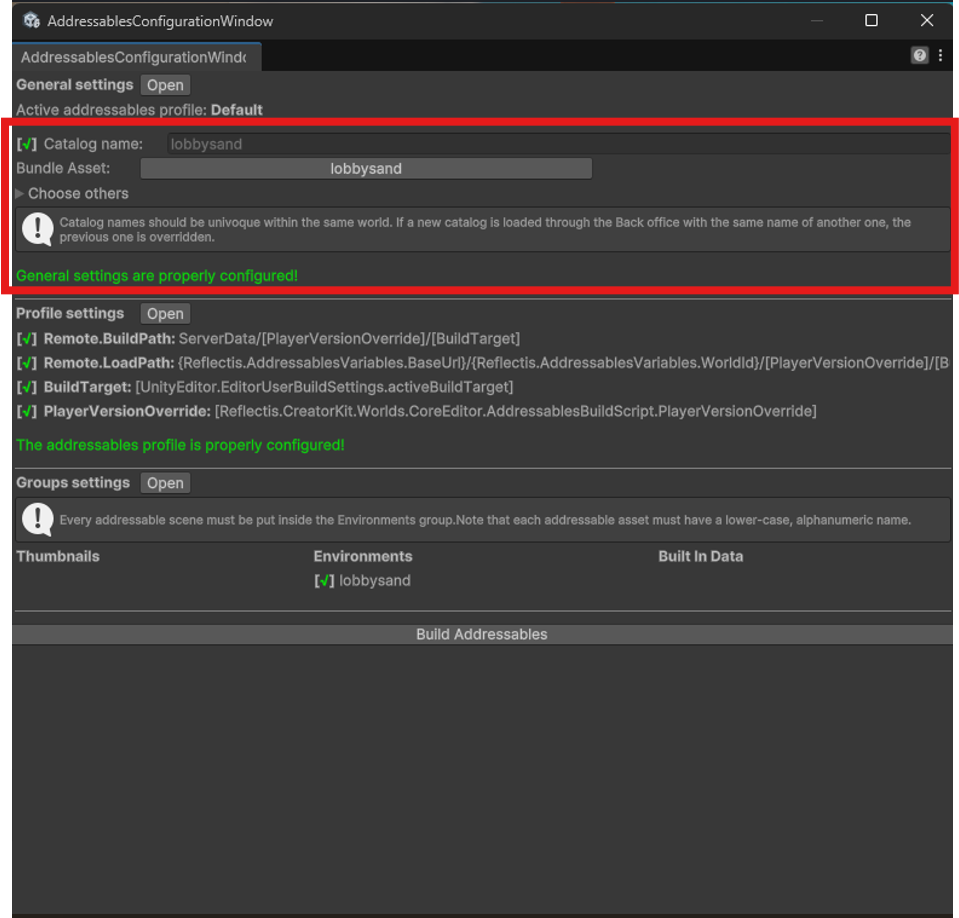
General Settings
In this section it's possibile to give a specific name to the addressable environment scene that will be created, to easily identify it and manage it properly inside the Back Office.
To setup the name of the catalog that will contain the environment addressables, just write it on the designated space called Catalog Name, as shown below
Don't use numbers or special characters in "Player Version Override" parameter.
In this section is also possible to store addressables configuration data to have an easy access to different configurations. This allows to easily switch on different addressables configurations without having to set them up by hand from the start each time. This feature helps when there are different environment scenes on the same project and you need to keep them separated.
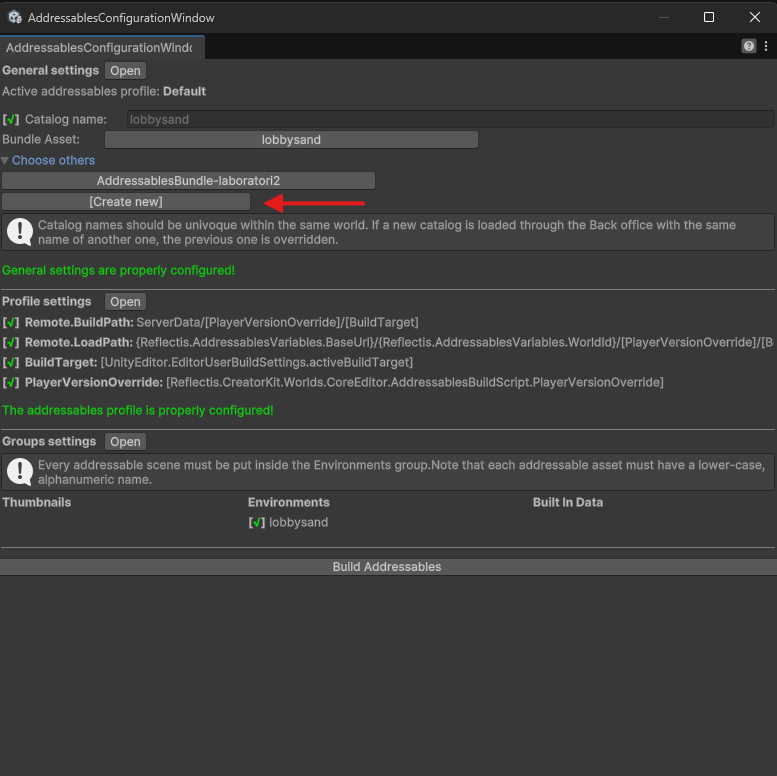
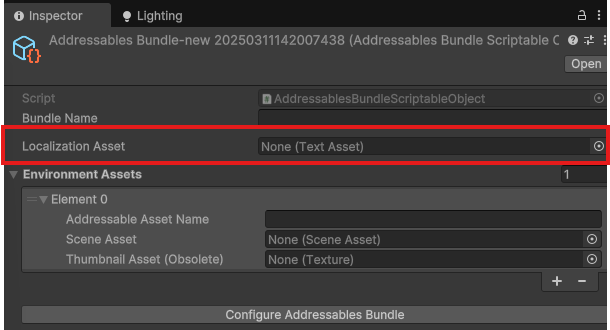
To create a new stored configuration click on the "[Create New]" button. The inspector will show the new scriptable object created. This object will store the addressable information that will be added to it. Fill the spaces with the correct information and press "Configure Addressable Bundle". From this moment on the bundle will be saved in the Configuration window. It can be deleted by deleting the scriptable asset from the assets folder.
Note:this is where it's possible to link a localization file for the scene's labels. Scroll down to the last section to know how to set it up!
While still possible to list multiple environment scenes for the same configuration, we recommend to have a different addressable configuration for each Environment scene.
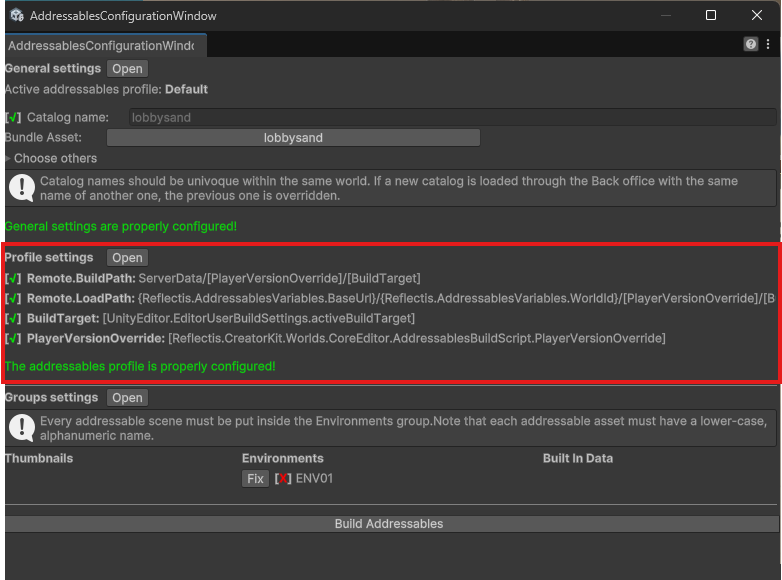
Profile settings
In this section the various links needed to configure the addressables path are listed.
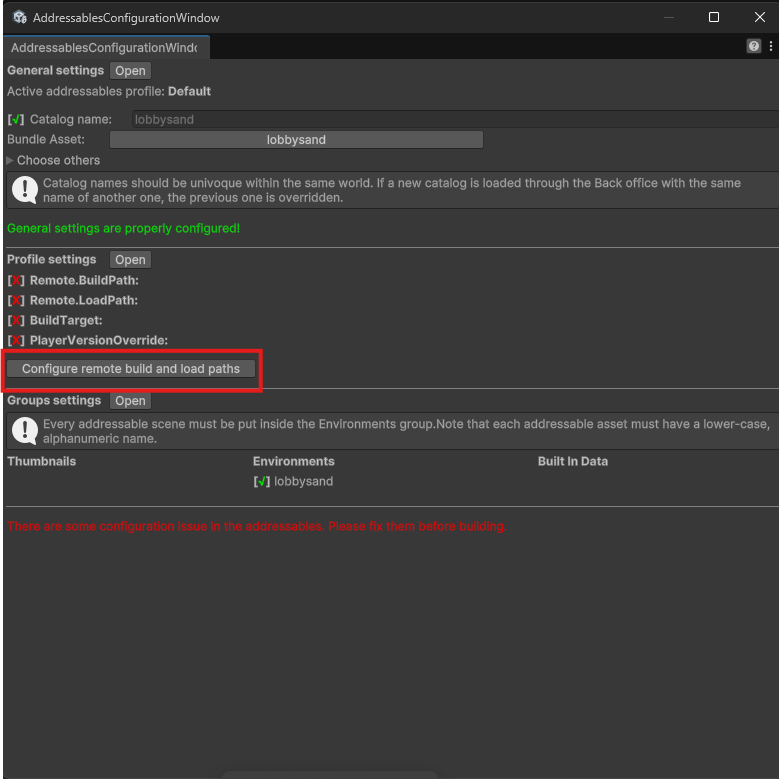
These links are already set-up, but in the case that some of the links as shown with a red X on the side, the button ""Configure remote build and load paths"" will appear. when clicked, all the links will be repaired automatically.
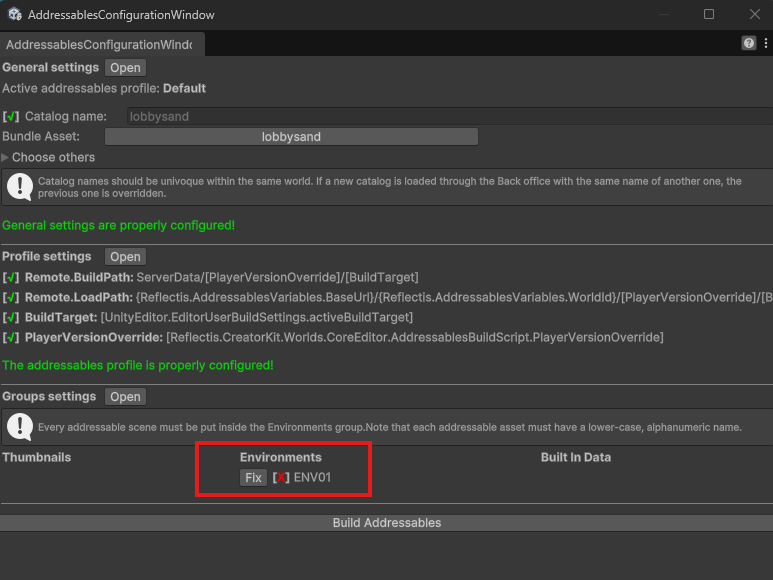
Groups settings
In this section the scenes that will be converted in addrssables will be listed.
Environemnt scenes can be listed here by selecting the scene file and mark it as Addressable.
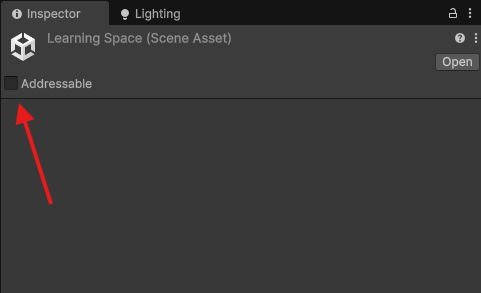
When marked, new configuration options will appear. Give the scene addressable the desired name and then select "Environment" as the addressable Group.
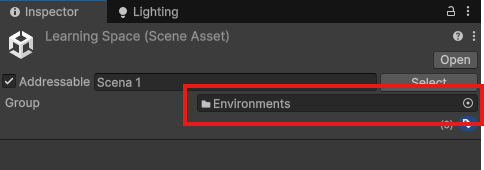
From this moment, the Environment scene sddressable will be listed on the Group Settings list.
Do not use special characters or Capital letters when giving the addressable a name. The Configuration Window has a feature that reviews the addressables name and gives a feedback if the name is incorrectly written. Press the "Fix" button near the name so that the system automatically converts the name in an acceptable format.
Convert scenes/thumbnails into addressables
The basic addressables needed to upload an environment are as follows:
-
Scene addressable
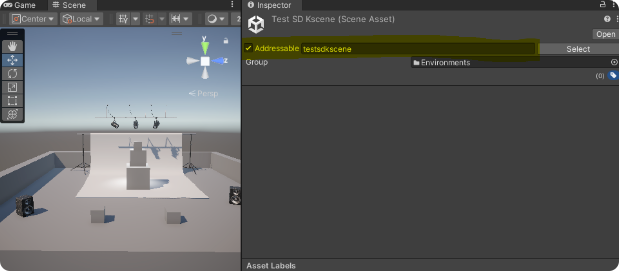
Select the scene file in the Asset folder → Scenes. Check “Addressable” on the inspector and set a name for it. The name will be the same displayed on the environment selection list.
WarningDon't use spaces or special characters in the "Addressable" parameter.
-
Thumbnails addressable (Facultative)
Environment Thumbnails can be selected and implemented from the Back Office "Environemnts" section anytime you like.
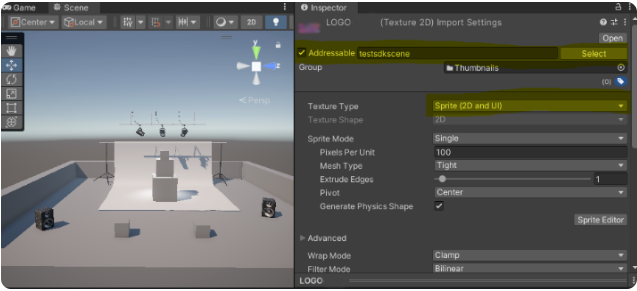
It's still possible to add a thumbnail from the addressables configuration window. to do so select an image file from the Asset folder → Images (or Thumbnail).
Set the Texture type to Sprite (2D and UI) and apply it, then check the Addressable box. The addressable group must be set to "Thumbnails".
In depth configuration
if the creator wants to have more freedom on managing the various addressables, it's possible to open the "Addressable Groups window" from the top bar by clicking on window → Asset Management → Addressables → Groups , from there the creator must organize the files in the following way:
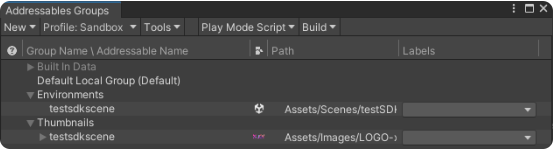
The scene addressable must be dragged into the "Environments group" and renamed if necessary.
The image addressable must be dragged into the "Thumbnails group" and named the same as the respective scene addressable.
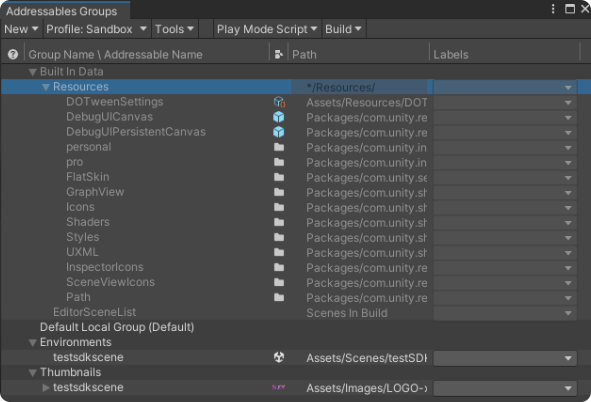
Specific elements needed to build the online environment are collected inside Built in Data. Among these files is noteworthy to mention the "Shaders" folder, essential for the environment to work.
Localization files
It's possible to add a localization file together with the environment scene aseet by creating an Excell file with the following columns:

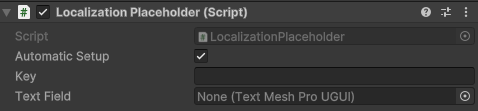
Add the Localization Placeholder component as a component in the unity scene and add the correct key in the designated space called Key. The Text Field space must reference the text object that need translation. This allows to add the script component in any object of the scene, the important part is that the key matches with the text inside the referenced text object.
Finally by converting the excell in a.CSV file and adding it to the project as a project asset, it is possible to bundle it together with the scene inside the Addressable Bundle.
The addressables configurations should be complete now, and you can proceed to the scene setup!