Unity setup
First of all, you have to install Unity (version 2022.3.1) to be able to test in your sandbox space.
If you don't have the Unity Hub installed yet, you need to install it first (download here).
Once you have Unity Hub, you can install Unity 2022.3.1:
-
Go to this page (tab "Unity 2022.X")
-
Click the "Unity Hub" button next to 2022.3.1
-
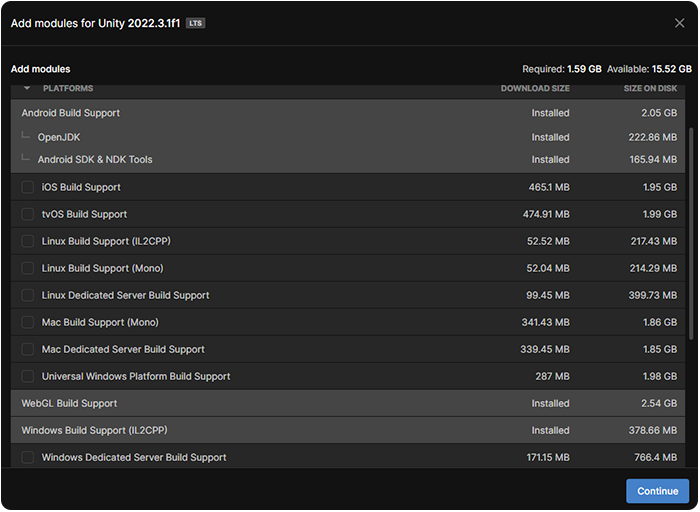
You have to select these modules to install:
- Android Build Support - to compile a build for VR headset
- WebGL Build Support - to compile a build for browser
- Windows Build Support - recommended, especially in the case of support from AnotheReality.
If you install the modules later, you need to build the addressables again for generating the relevant folders.
Configuration
-
Open Unity Hub and create a new Unity project with the 3D (URP) Template
WarningIt's mandatory that the project has the URP pipeline and not HDRP, otherwise the project can't be compiled correctly and display the graphic assets.
-
On the open Unity project, go to: Edit → Project Settings → Player → Settings for Windows → Other Settings → Configuration → API compatibility level → .NET Framework
-
Download DOTween (http://dotween.demigiant.com/download.php)
-
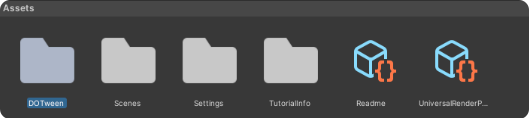
Add the unzipped DOTween folder into the "Assets" folder of Unity project
-
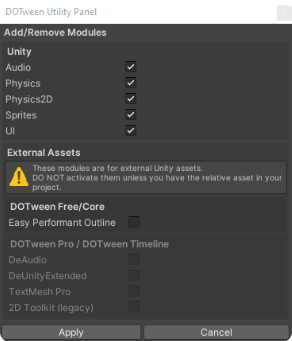
Click on "Open DOTween Utility Panel" from the panel that appears automatically or follow the path: Tools → Demigiant → DOTween Utility Panel
-
Click on "Setup DOTween"
-
Click on "Apply" once it has finished installing the packages automatically
-
Click on "Create ASMDF" on the DOTween Utility Panel and confirm the creation of the DOTween Modules
-
Import the packages from these links into the scene using the package manager, selecting the "Add package from git URL" option:
The Reflectis 2024.4 works only with packages v6.0.0 (SDK) and v3.1.0 (SDK-CreatorKit).
Now the project has all the necessary packages to start using the Reflectis SDK. Import 3D elements into the scene and give them new logic!