Publish the experience
When the addressables have been compiled, they need to be published. The creator must use the Back Office portal to send the addressables to the main server and allow the world to be selectable to be visited in an event.
The name of the scene addressable will give the name to the uploaded environment. The name can still be edited inside the Back Office environment section after the upload.
Upload via external client
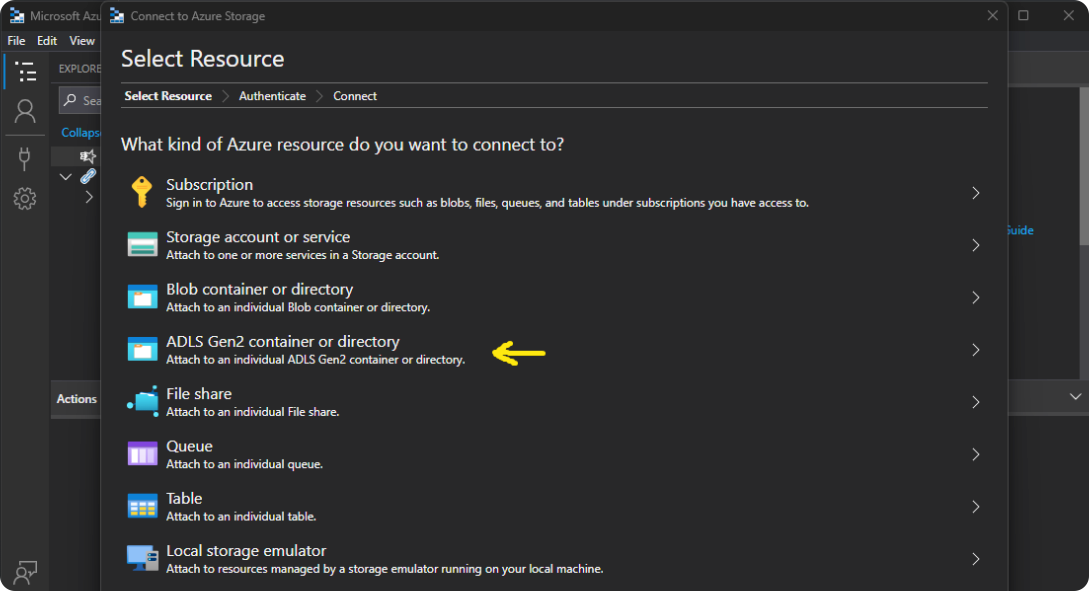
To upload an environment, it's necessary to connect to Azure Storage Explorer and to follow these steps:
-
Download Azure Storage Explorer here. Credentials have been shared through email and will expire at the end of Reflectis license lifetime.
-
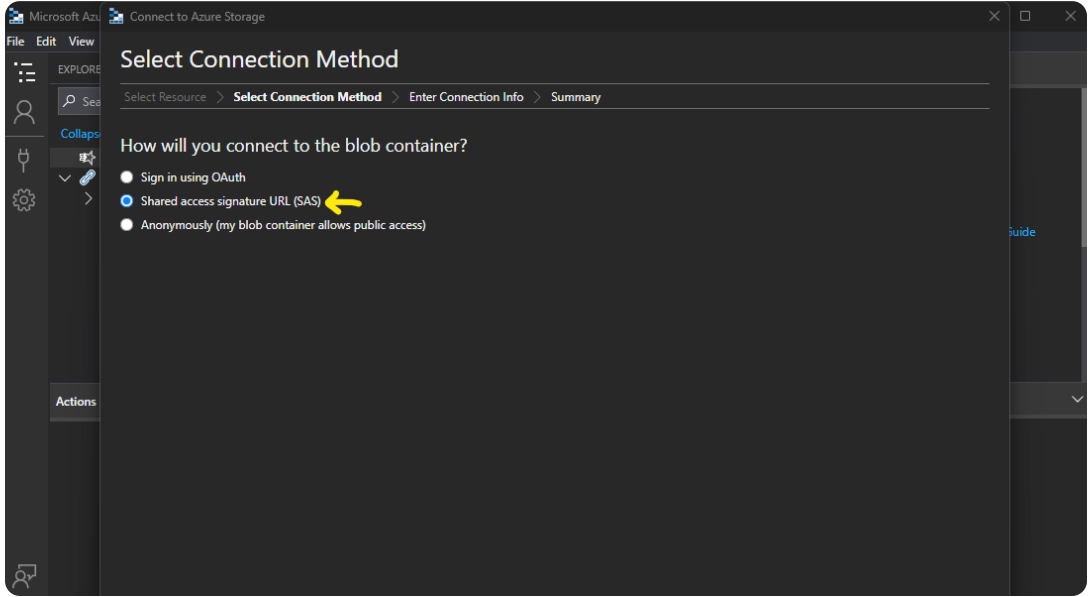
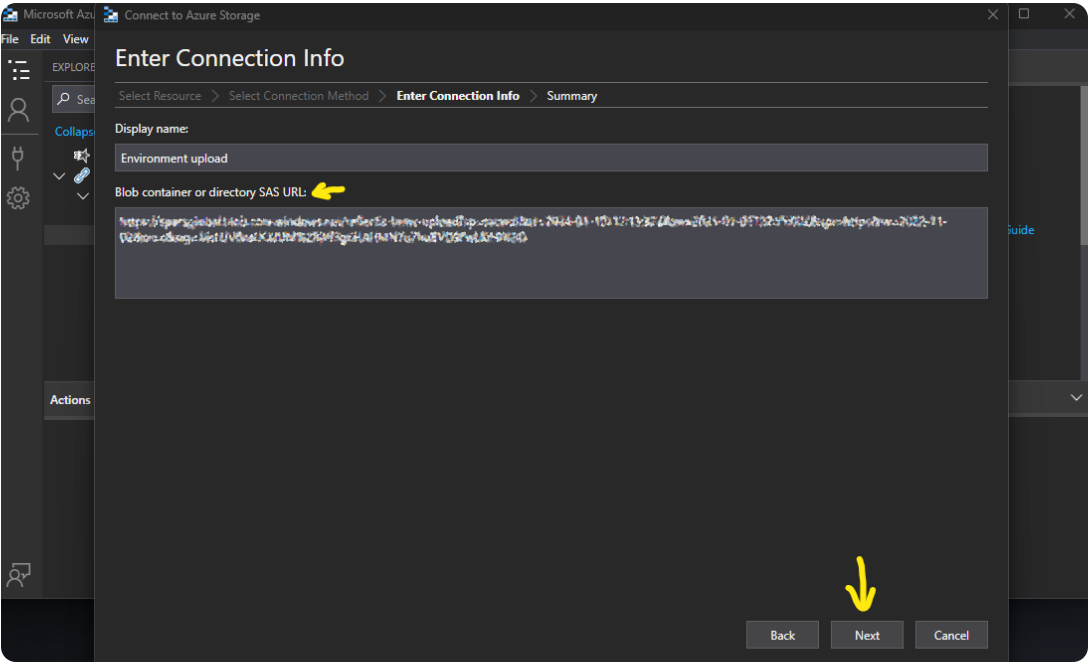
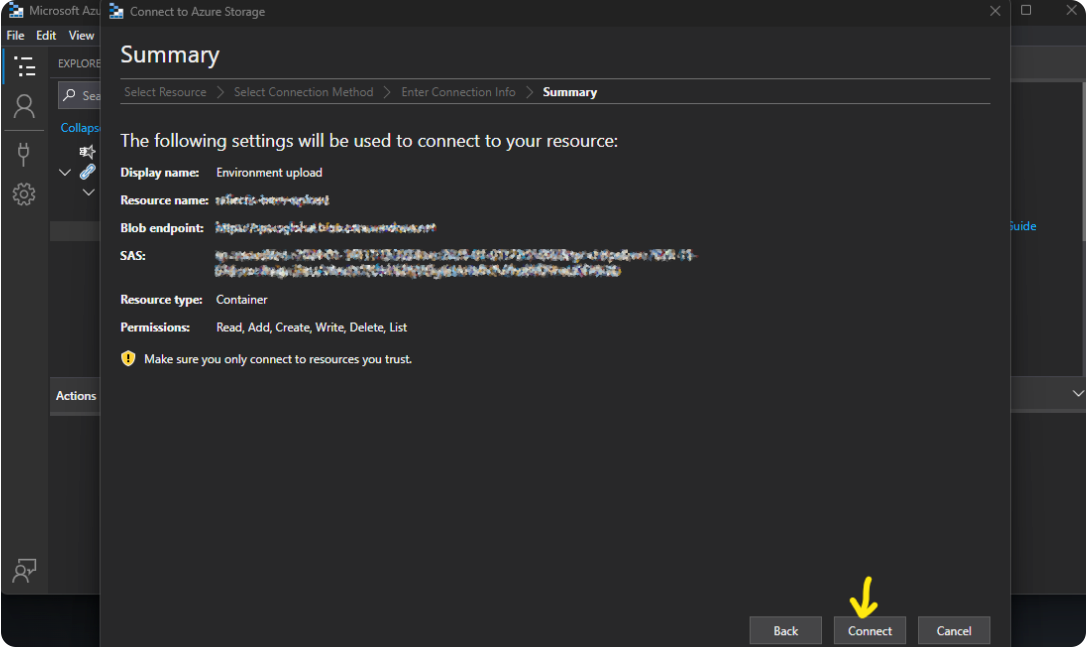
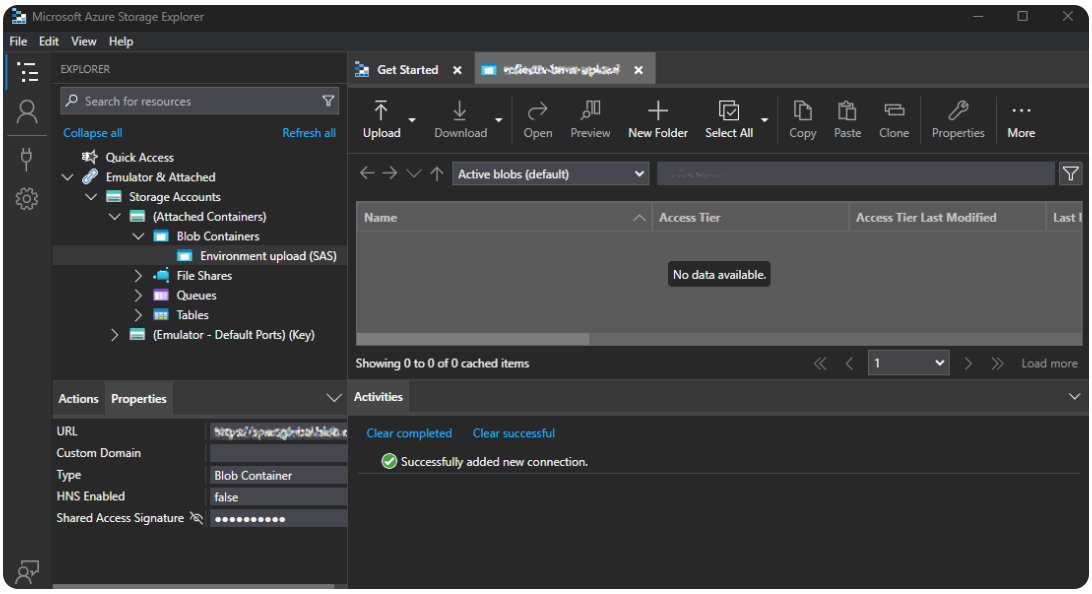
Follow the instructions defined in the images below:

-
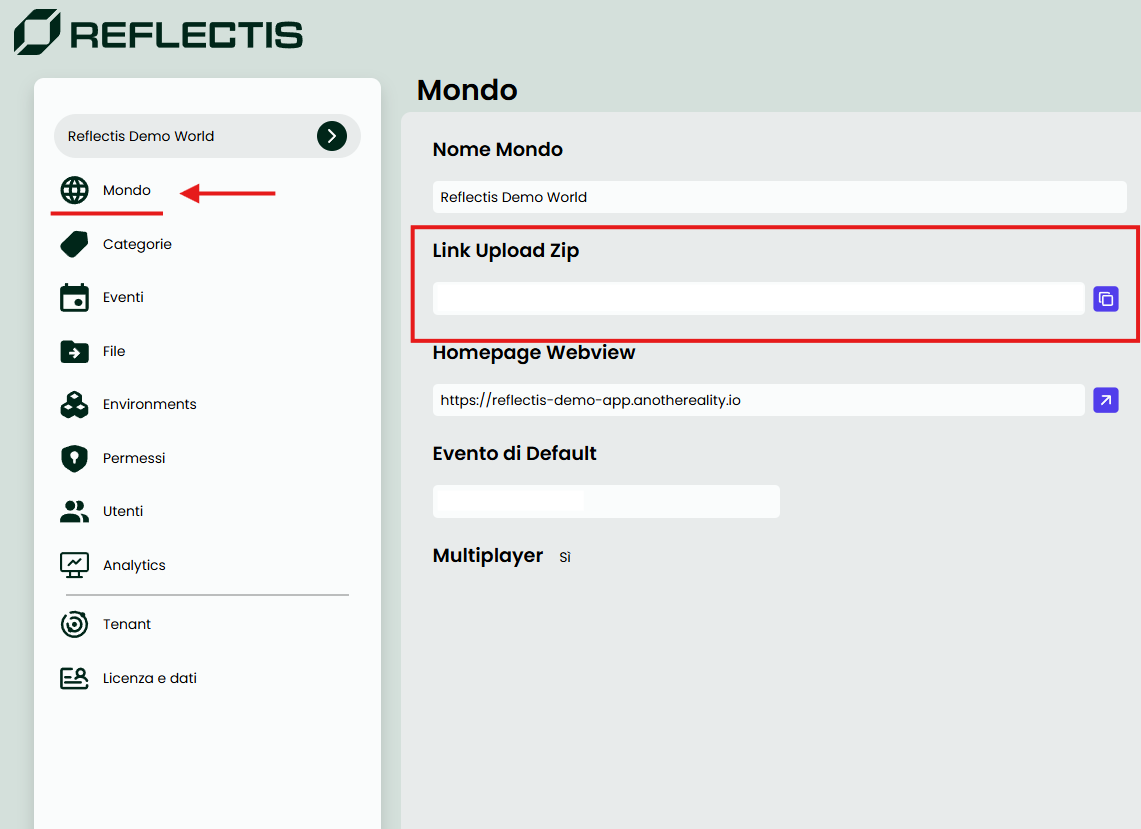
The Upload URL can be found in the "world"" section of the Back Office under "Link Upload Zip". different worlds/organizations will have a different URL
-
Drag your .zip file here:
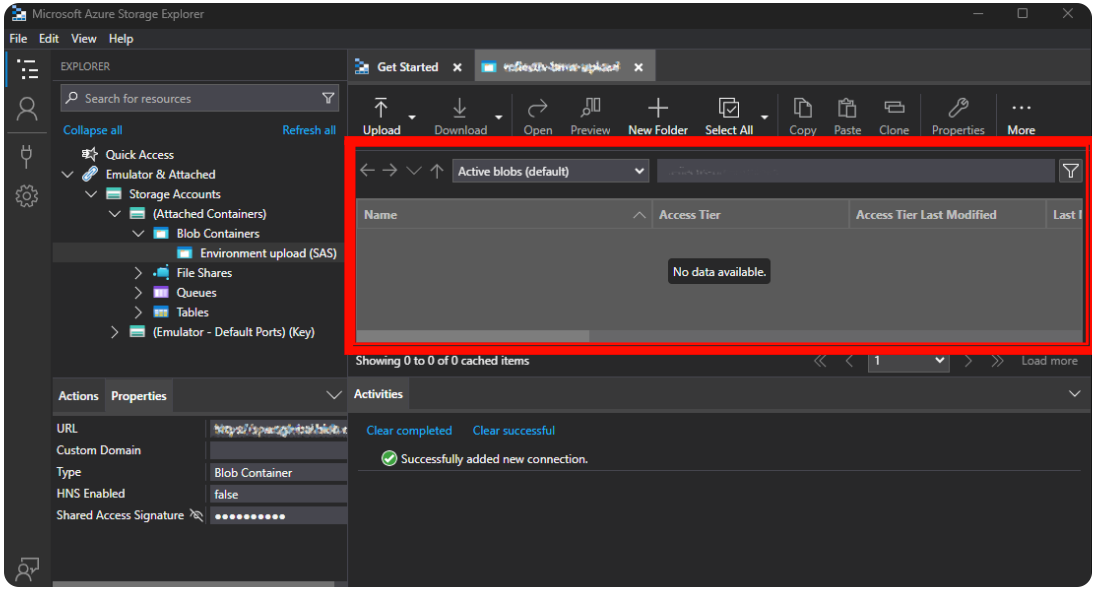
Now the .zip file will be selectable from the Back Office’s environments section as described below.
.zip files with the same name will be overwritten, it’s recommended to name each .zip commit with a different name to prevent data loss and have a better way to rollback content.
Import environment in Back Office
-
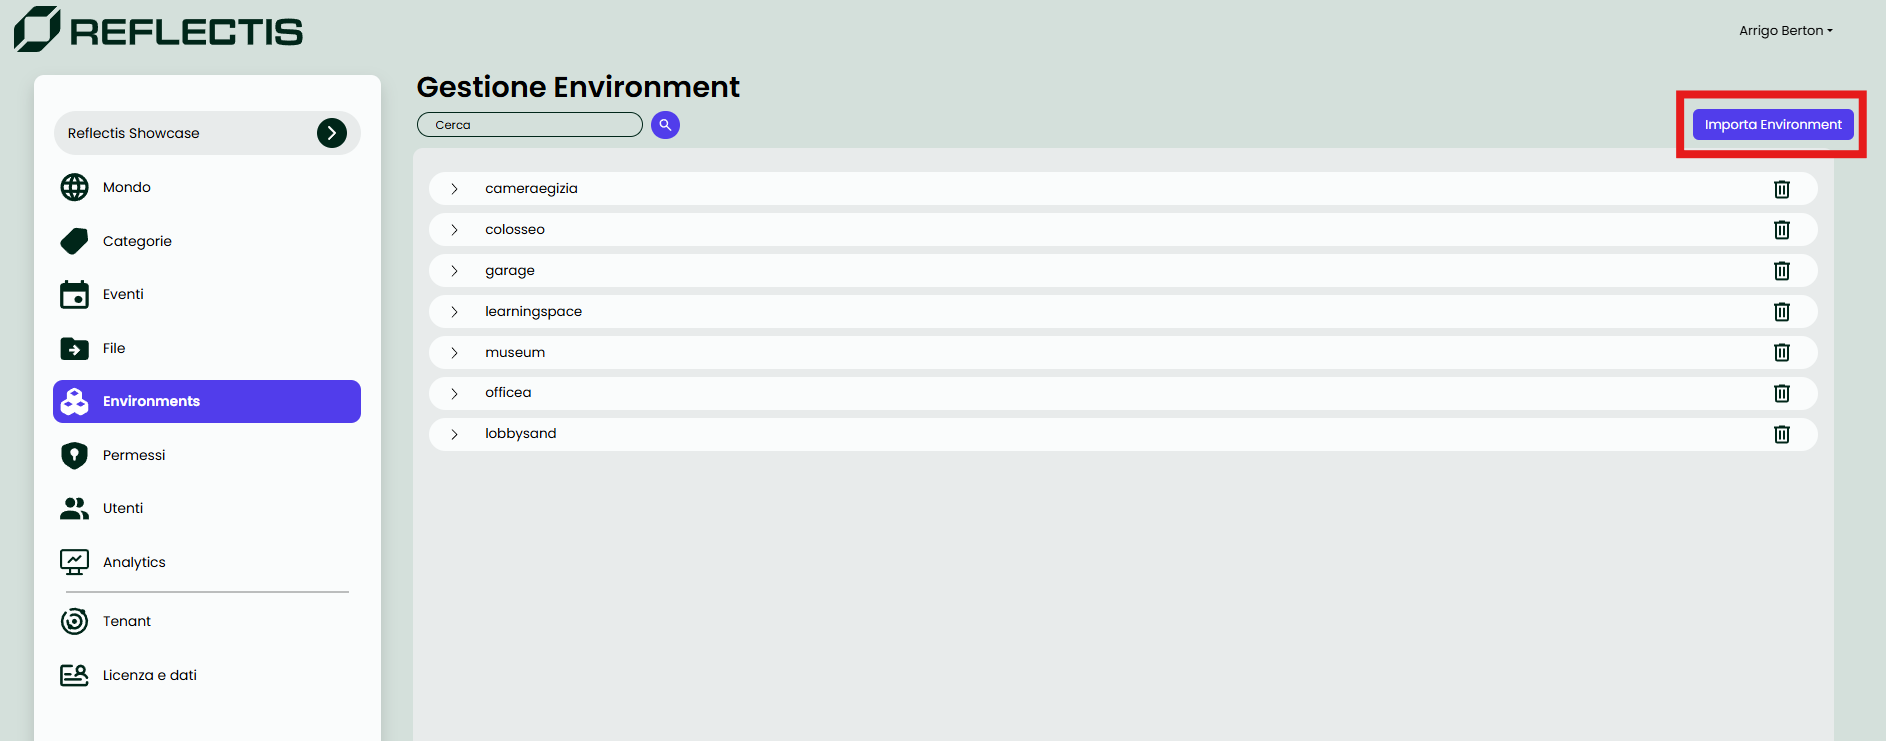
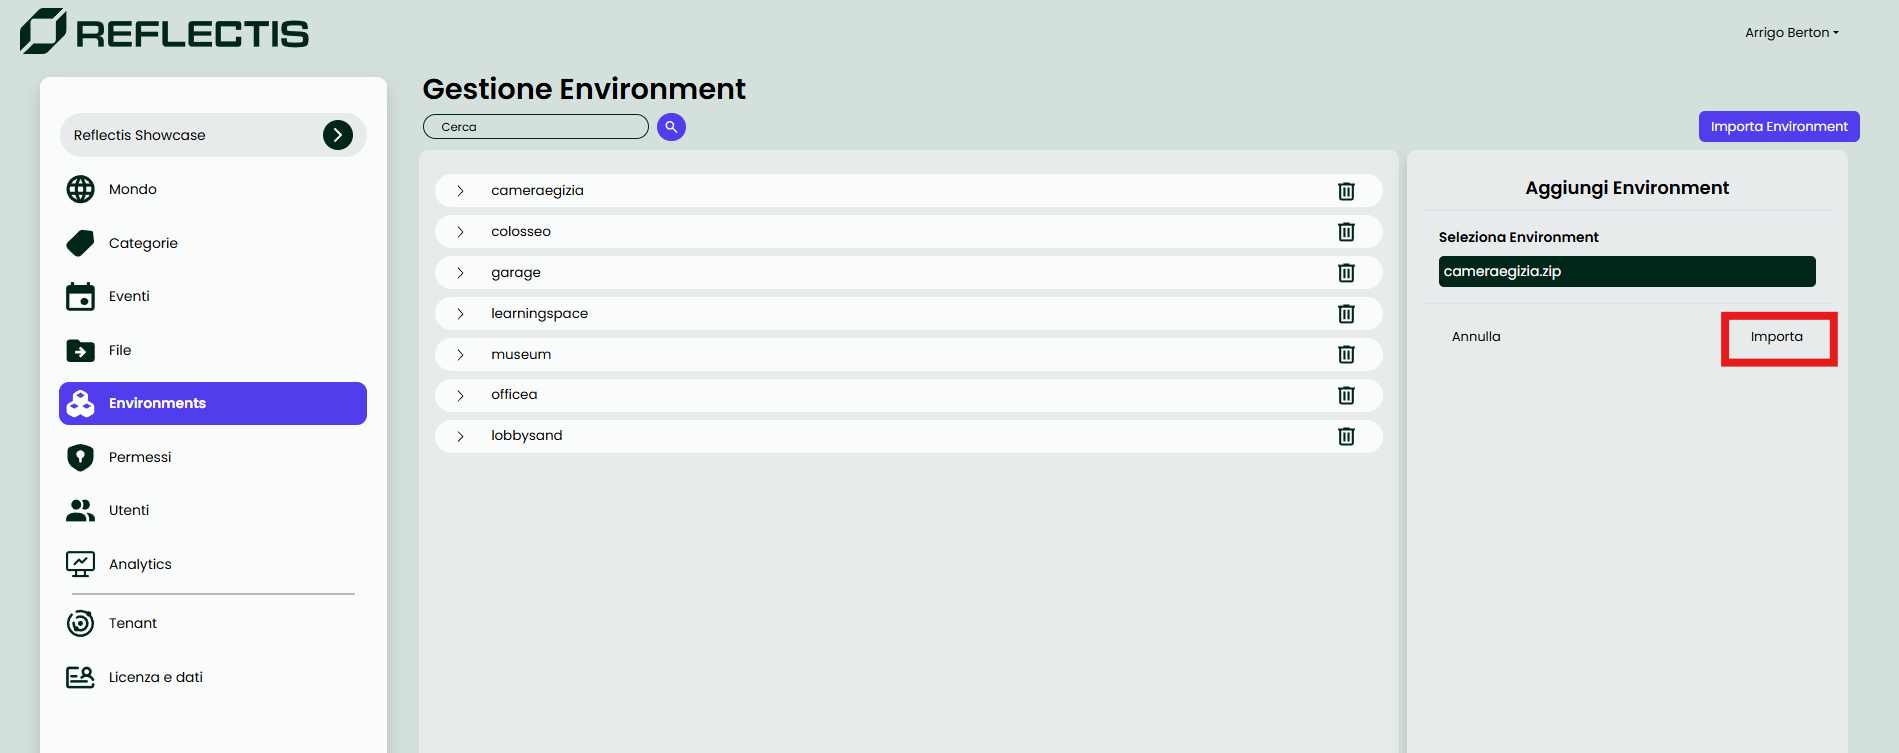
Open the Back Office page, go to Environment section and click on "Import environment".
-
A side menu will appear. Here, you will be prompted to select the environment you wish to import.
-
Select the desired environment (It will have the same name as the .ZIP file).
-
Proceed by confirming the selection using the confirmation button.
-
After confirming the import, the webpage will provide visual feedback to indicate whether the action was successful or not.
Once published, it's time to test the new environment!