First steps
To join Reflectis, just follow the steps depending on which platform you want to use.
What you need
- VR application: Reflectis is compatible with Meta Quest 2 and Meta Quest 3 headsets. To gain access to the VR app, please contact us directly.
- Web application: No downloads required. Simply click here to register and access the web application.
Sign Up and Log In
Both VR and WebGL users must complete the registration process to access the applications. The registration portal is available through the landing page. It is essential to complete the process in full. Any incomplete registrations will prevent access to the platform.
Accessing the Platform
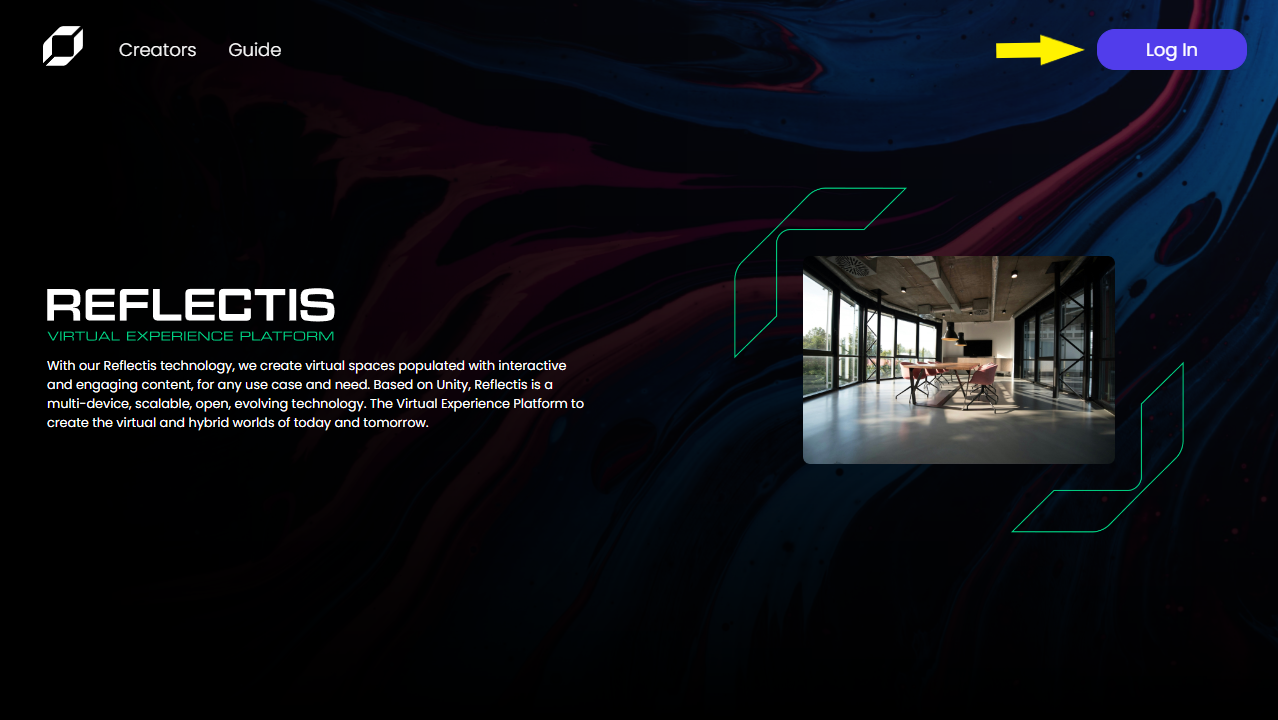
Step 1: Opening the Login Modal
-
On the homepage, locate the Log In button in the upper-right corner of the screen.
-
Click the Log In button to open the login modal.
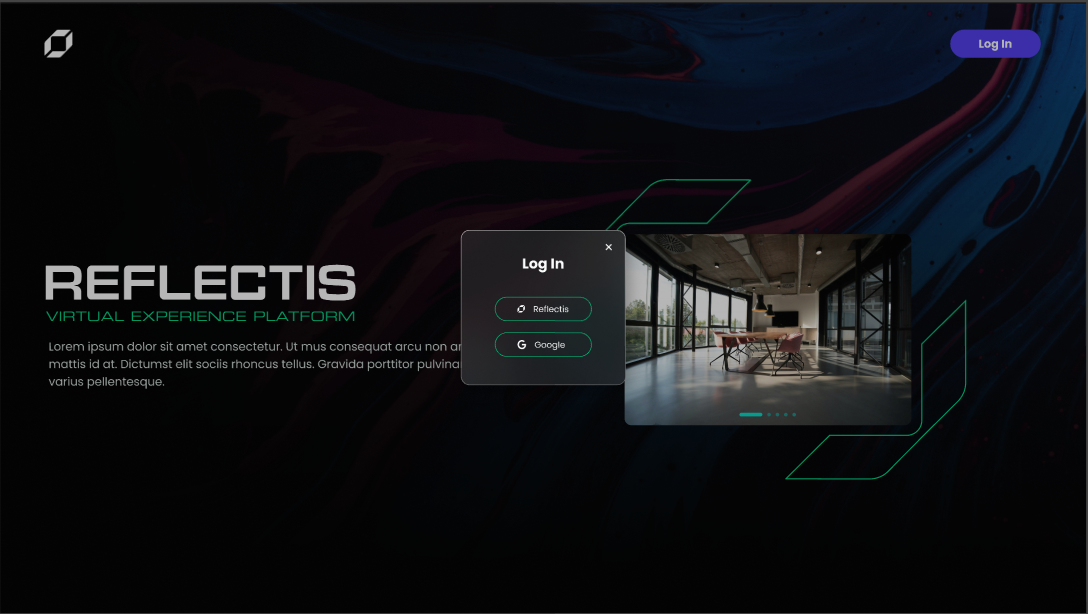
Step 2: Selecting a Login Method
-
In the login modal, you’ll see the login providers.
-
Choose your preferred login method by clicking the corresponding button.
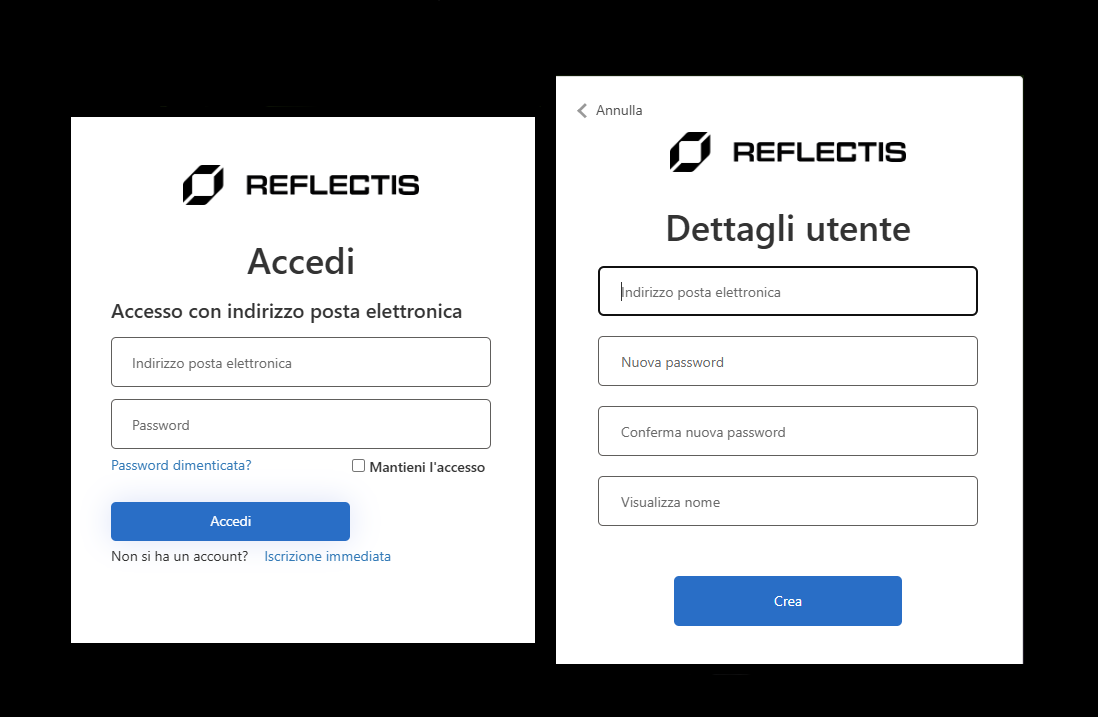
Step 3: Credentials
After choosing an option, you’ll be redirected to the appropriate login screen to enter your credentials and gain access to the platform.
Tip: If you’re logging in for the first time, follow the prompts to complete any necessary authentication.
After completing the registration you will be ready to enter the Reflectis Virtual Platform!
Creating account
Email Validation Process
After clicking the "Create" button, a redirection to the homepage will occur, displaying the following pop-up:
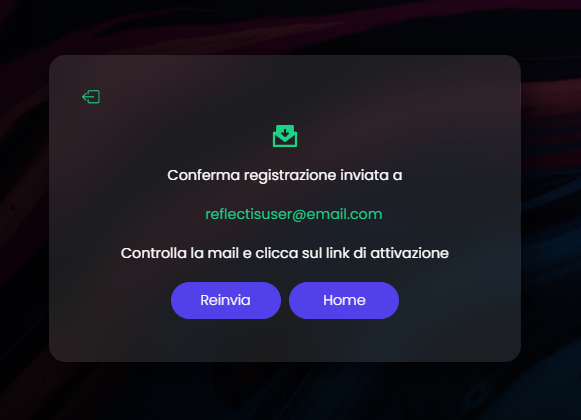
It is necessary to check the inbox for the confirmation email. If the email is not received, or if 24 hours have passed since the initial email was sent, the resend button on the pop-up notification can be used to send the email again.
The confirmation email will be formatted as follows:
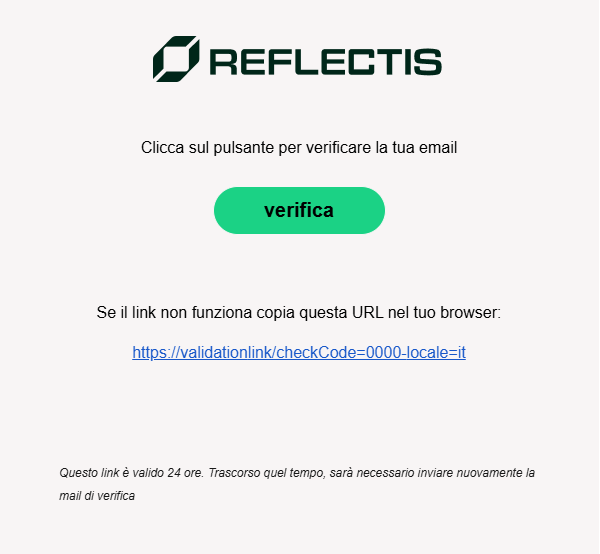
Important Notes:
-
Validate Your Email Promptly:
The email validation link is valid for only 24 hours. The link must be clicked within this timeframe to complete the registration process. -
Email Validation Process:
Clicking the validation link will redirect to the following page:
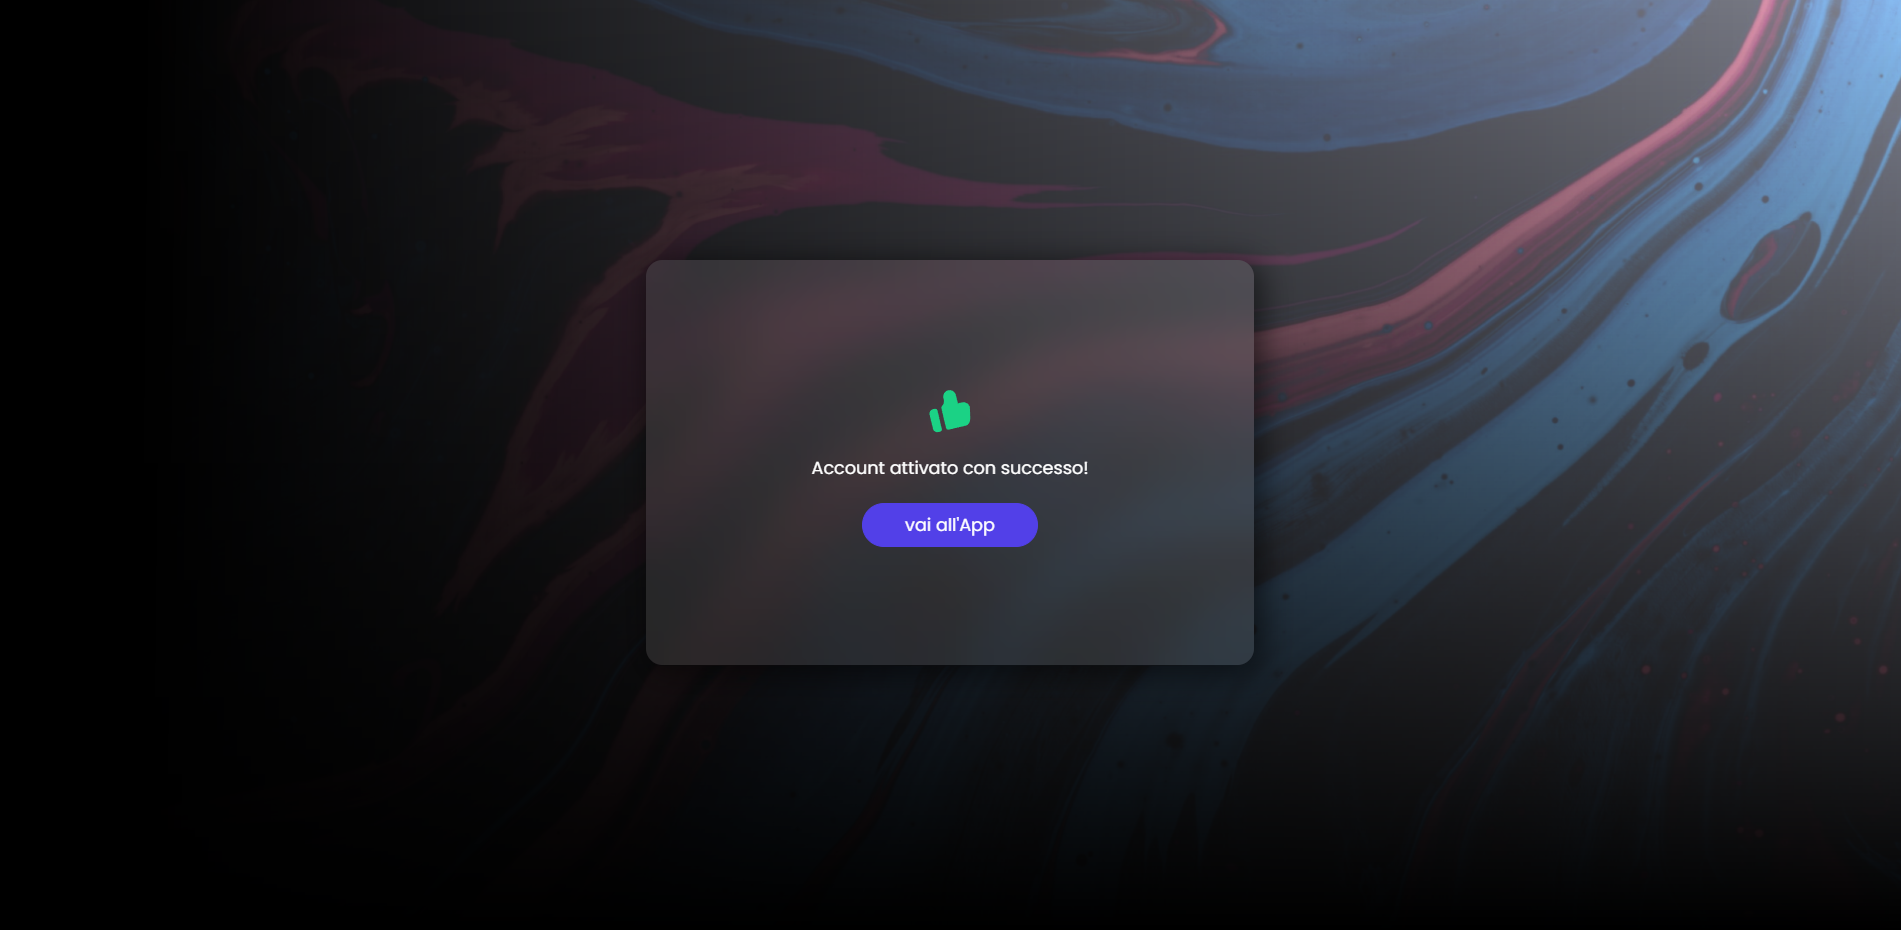
From this point:
- Access the application by clicking the "Vai all'App" button and follow the steps to complete the profile setup.
- Alternatively, the "Home" button in the confirmation pop-up can be used to proceed.
Failure to complete these steps will result in restricted access to the platform.
Before entering the 3D world, it is required to create your profile and an avatar, through the Ready Player Me Platform.
Follow the steps to set up your profile:
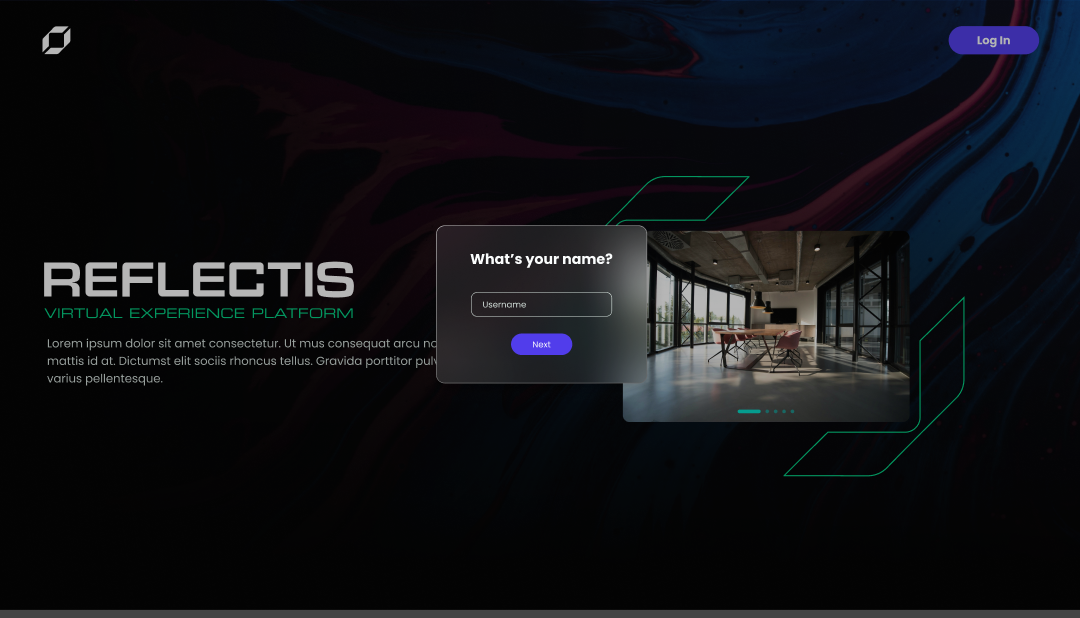
Once your nickname is set, you’ll proceed to choose an avatar that best represents you on the platform. You have two options for avatar selection:
Choose a Default Avatar
You can select one of the three default avatars provided. Simply click on the avatar you prefer to highlight your choice.
![]()
Create a Custom Avatar
If you’d like a more personalized avatar, click on the plus icon ( + ). This action will redirect you to Ready Player Me, where you can design a custom avatar. Once completed, your custom avatar will be available for use on the platform.
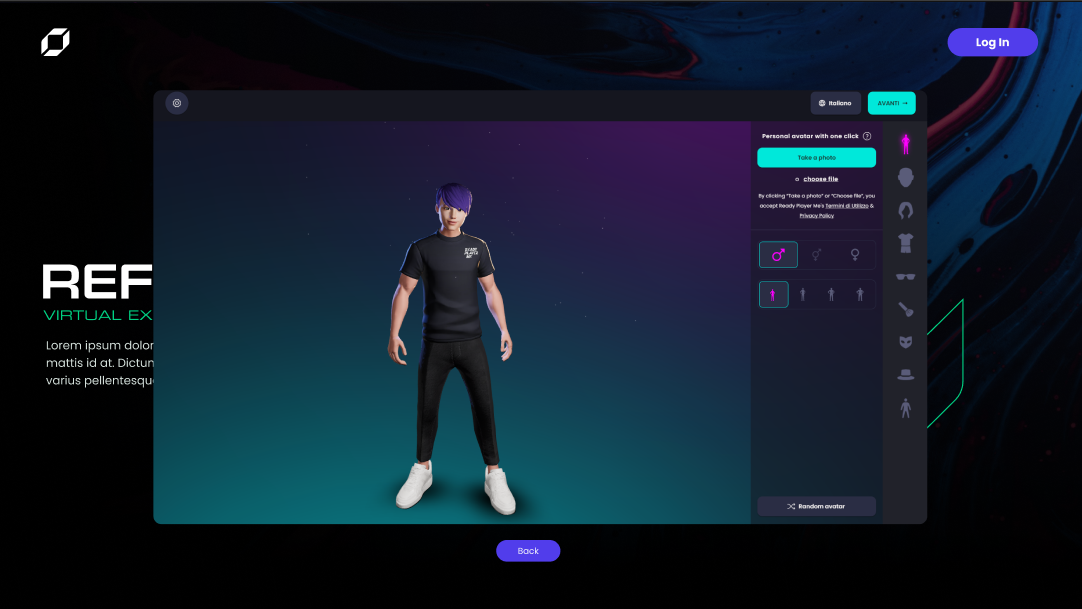
After selecting or creating your avatar, click the "Confirm" button to proceed. This completes your initial account setup, and you’re now you are now ready to access the virtual platform!
To learn the system of movement and interaction with the environment, you can consult this guide.
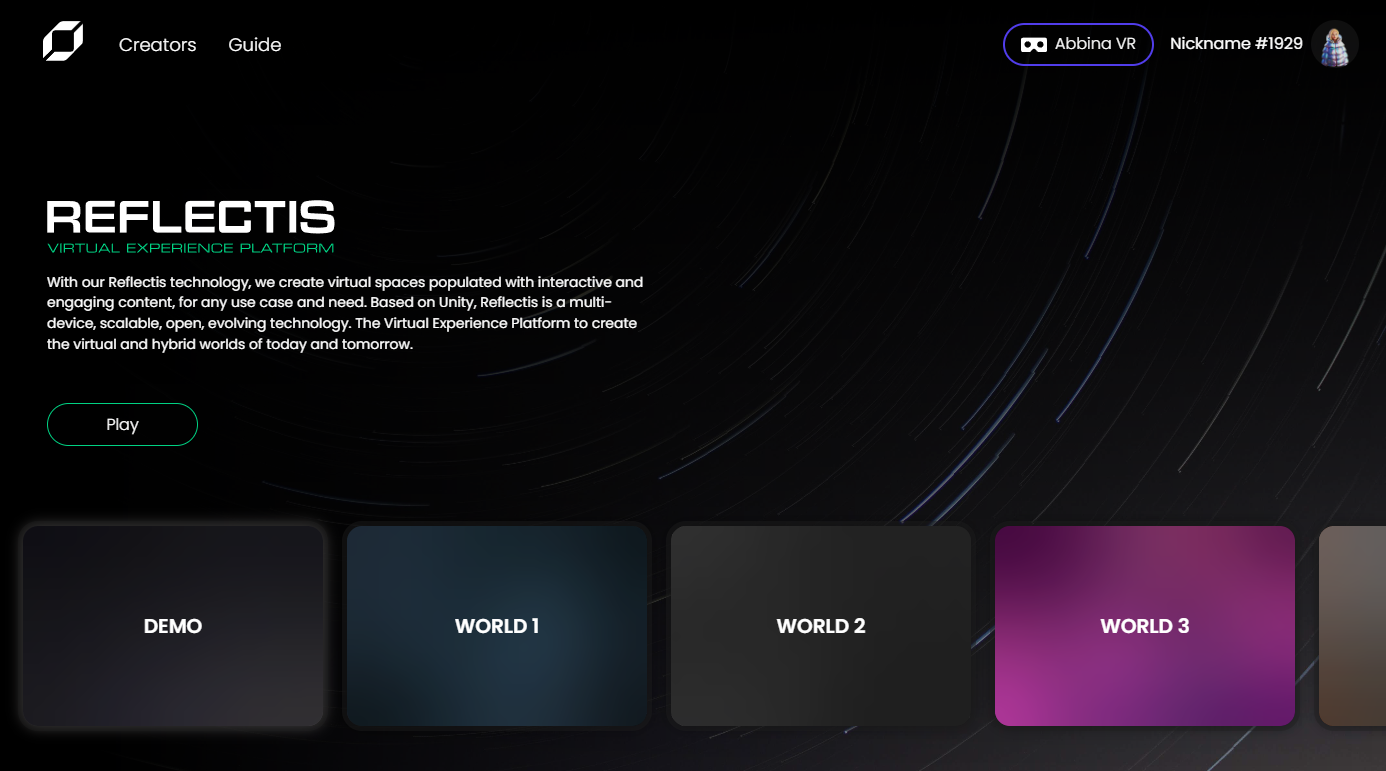
Choosing the World
Upon successful login, the platform redirects to the World selection screen within the Tenant. This list displays only the Worlds to which access has been granted.
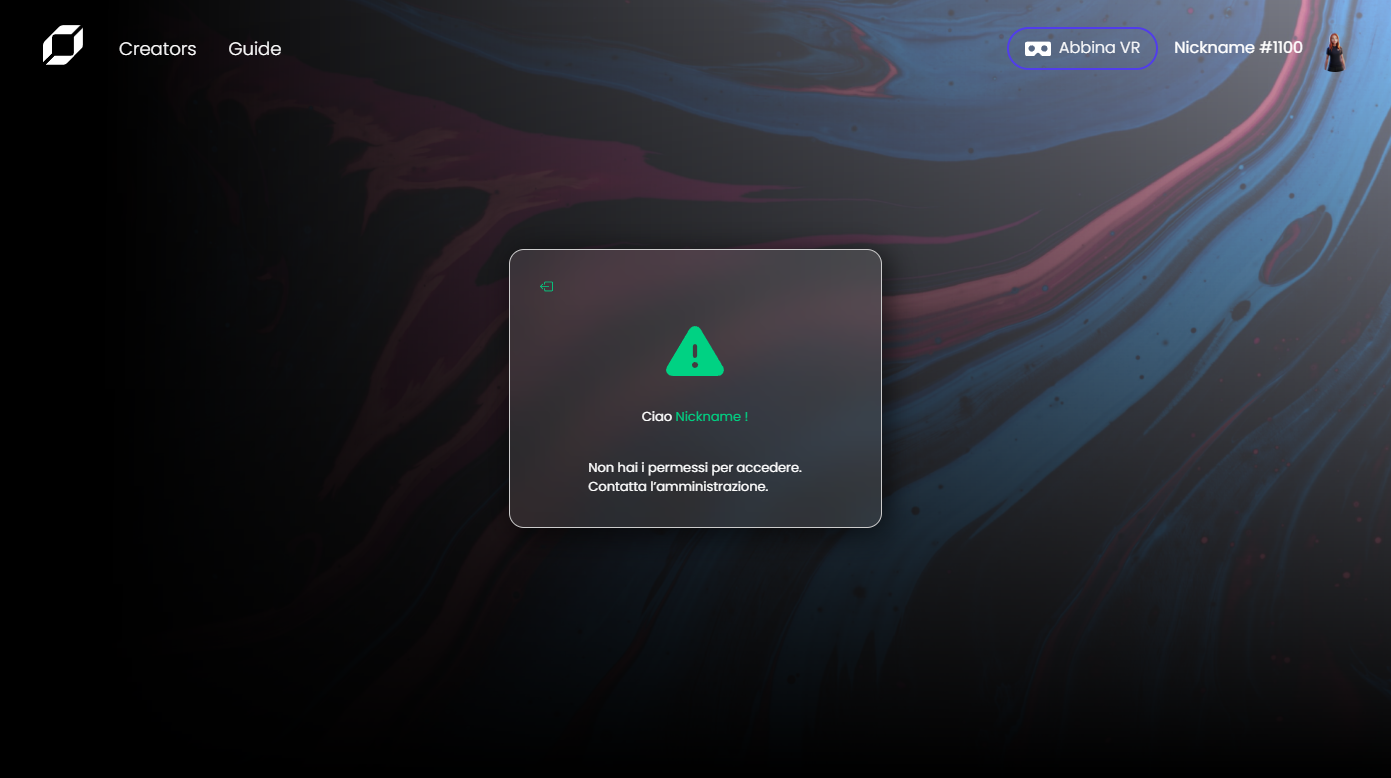
If no access is available to any existing Worlds, a pop-up notification will appear, advising the user to contact administration. In this scenario, the only available option is to log out. To resolve this, a Tenant Manager must assign the appropriate role to the user to grant access to the relevant Worlds.
Accessing the World
Web Application
After selecting a World, access is granted through the World card interface. Each World the user has permission to enter will be displayed as a card with the option to click Play to enter the WebGL environment.
- If multiple Worlds are available, each will appear as a selectable card.
- If access is granted to only one World, the card will be hidden, and only the Play button will be visible for streamlined access.
VR Application To learn how to pair your headset check the VR Pairing section.